Creating A Sample Application
NERC's OpenShift service is a platform that provides a cloud-native environment for developing and deploying applications.
Here, we walk through the process of creating a simple web application, deploying it. This example uses the Node.js programming language, but the process with other programming languages will be similar. Instructions provided show the tasks using both the web console and the command-line tool.
Red Hat Tutorials
You can follow this tutorial from Red Hat, which provides an end-to-end example of deploying an application on the OpenShift Container Platform using either the OpenShift CLI (oc) or the web console.
Using NERC's OpenShift Web Console
-
Go to the NERC's OpenShift Web Console.
-
In the Navigation Menu, navigate to the Workloads -> Topology menu.
-
Creating applications using samples: Use existing code samples to get started with creating applications on the OpenShift Container Platform. Here, you can select different type of application you want to create (e.g. Node.js, Python, Ruby, etc.).
For that you can right-click on the page and select the "From Catalog" option from the Add to Project in-context menu as shown below:
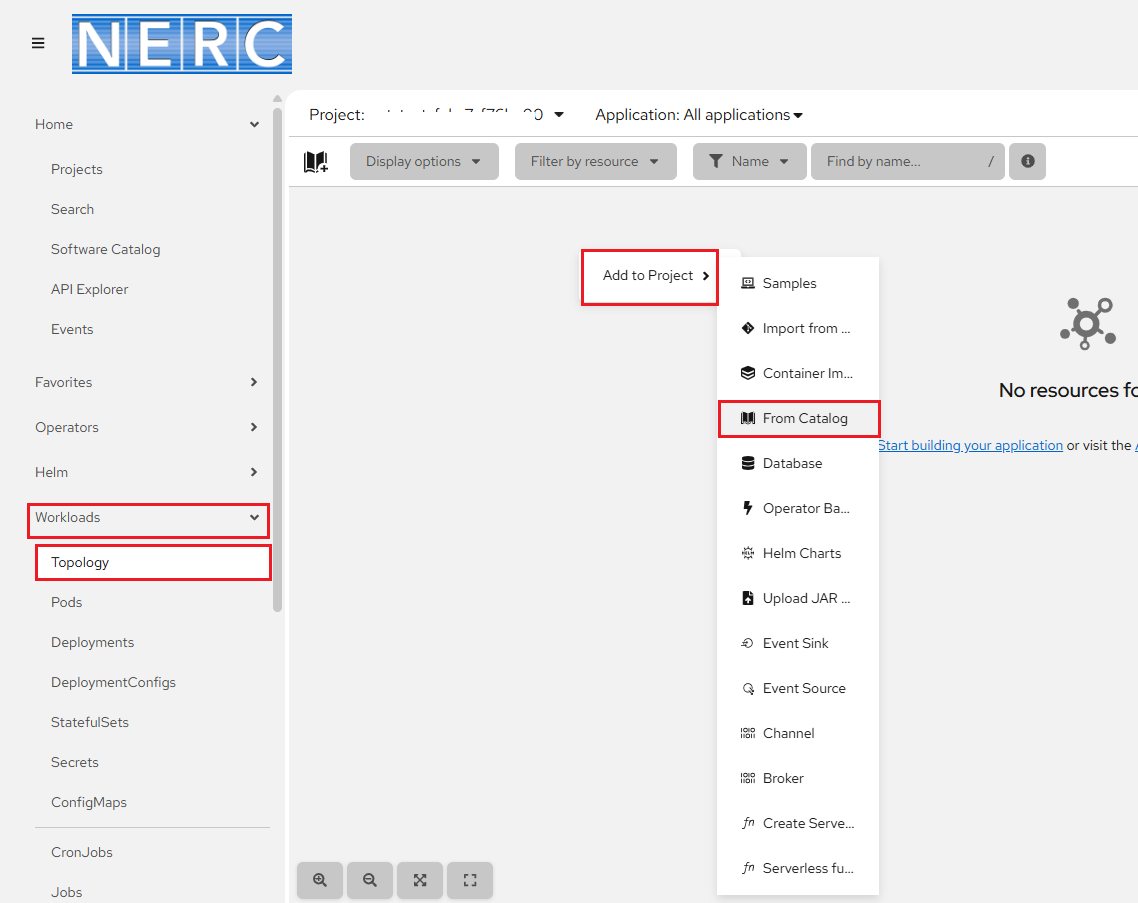
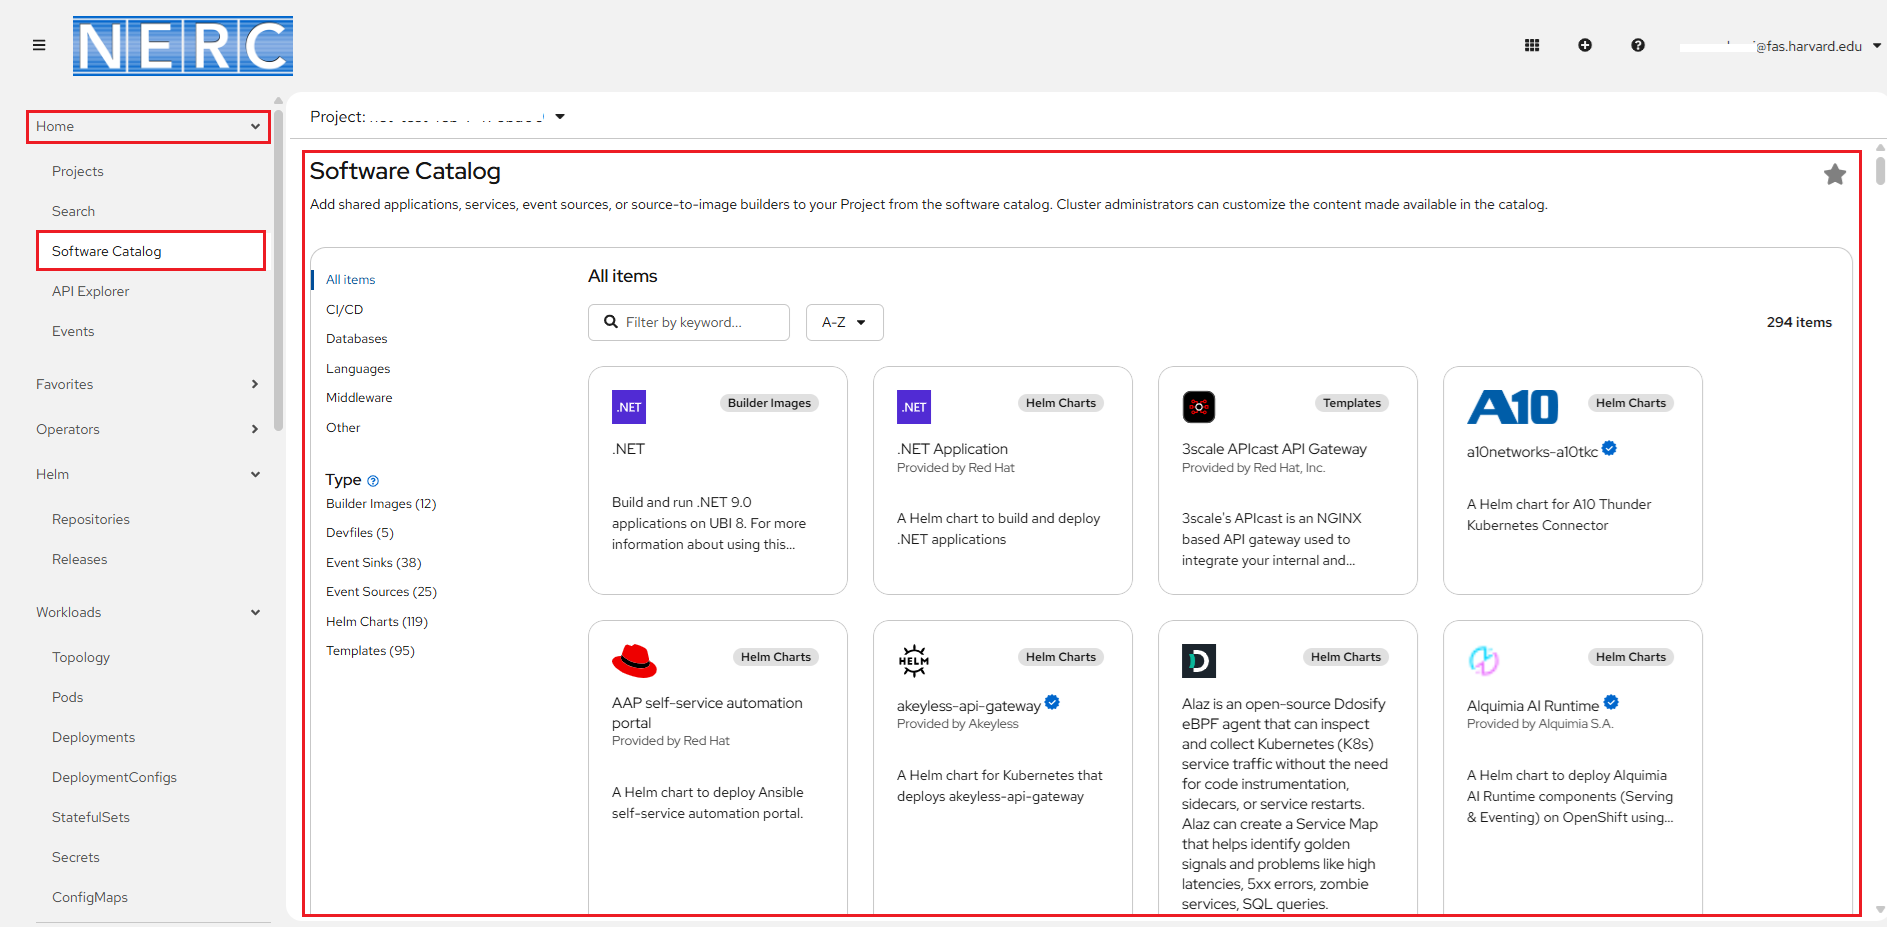
Alternatively, You can go to the Home -> Software Catalog menu as shown below:
Or, if you want to create an application from your own source code located in a git repository then you can select Import from Git from the in-context menu in the Topology view as shown below:
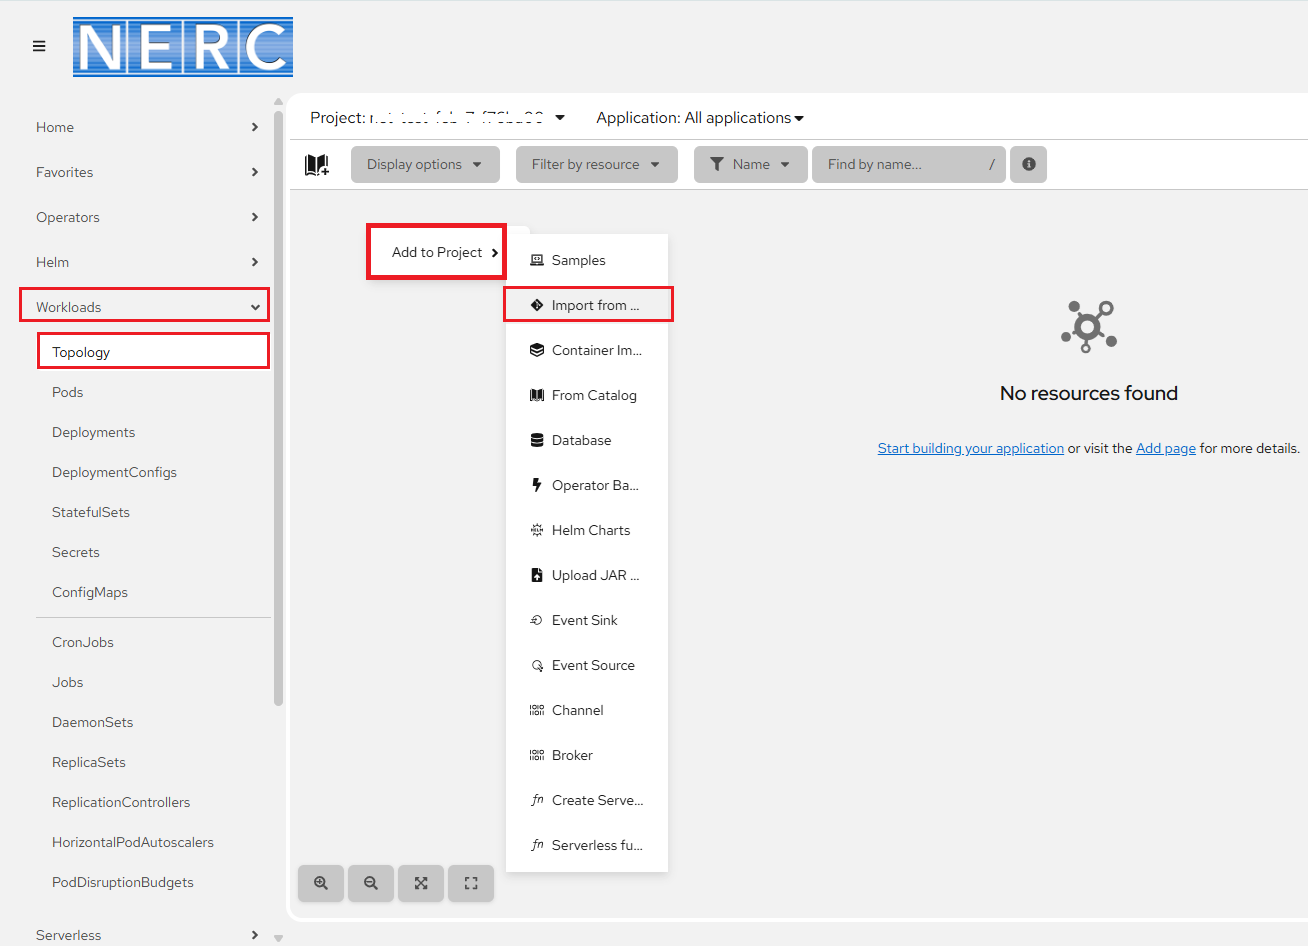
Alternatively, select the "Import from Git" button, represented by the "+" icon in the top navigation bar as shown below:

You will be prompted to enter a URL that points to a Git repo. Red Hat OpenShift will copy the repo to an internal storage location, inspect it, and attempt to discern the import strategy to build it. OpenShift will choose one of the following methods to build the application:
-
Option 1: Using the Builder image for the programming language used (i.e., the s2i option).
-
Option 2: Using the Dockerfile that is found in the Git repo.
-
Option 3: Using the DevFile that is found in the Git Repo.
In the Git Repo URL text box, enter your git repo url. For example:
https://github.com/<github_username>/mypublicrepo.https://github.com/<github_username>/mypublicrepoBest Practices for Container Permissions in OpenShift
-
On OpenShift, every container in a standard namespace (unless security settings are modified) runs as a user with a random user ID (UID) and group ID (GID)
0. Therefore, any folders that need to be written to, and any files that need to be modified (even temporarily), must be accessible to this user.The best practice is to set ownership to
1001:0(userdefault, group0). -
If this is not possible, another solution is to set the appropriate permissions for all users, such as
775.
-
-
Click "Create" to create your application.
-
Once your application has been created, you can view the details by clicking on the application name in the Project Overview page.
-
On the Topology view page, click on your application, or the application circle if you are in graphical topology view. In the details panel that displays, scroll to the Routes section on the "Resources" tab and click on the link to go to the sample application. This will open your application in a new browser window. The link will look similar to
https://<your-application-name>-<your-namespace>.apps.shift.nerc.mghpcc.org.
Example: Developing Applications on OpenShift
For a quick tutorial on how to use image-based and source-based deployment techniques with examples in JavaScript (Node.js), Spring Boot, or Python, please refer to this guide.
Additional resources
For more options and customization please read this.
Using the CLI (oc command) on your local terminal
Alternatively, you can create an application on the NERC's OpenShift cluster by using the oc new-app command from the command line terminal.
i. Make sure you have the oc CLI tool installed and configured on your local machine following these steps.
Information
Some users may have access to multiple projects. Run the following command to switch to a specific project space: oc project <your-project-namespace>.
ii. To create an application, you will need to specify the language and runtime for your application. You can do this by using the oc new-app command and specifying a language and runtime. For example, to create a Node.js application, you can run the following command: oc new-app nodejs
iii. If you want to create an application from an existing Git repository, you can use the --code flag to specify the URL of the repository. For example: oc new-app --code https://github.com/<github_username>/mypublicrepo. If you want to use a different name, you can add the --name=<newname> argument to the oc new-app command.
For example: oc new-app --name=mytestapp https://github.com/<github_username>/mypublicrepo. The platform will try to automatically detect the programming language of the application code and select the latest version of the base language image available. If oc new-app can't find any suitable Source-To-Image (S2I) builder images based on your source code in your Git repository or unable to detect the programming language or detects the wrong one, you can always specify the image you want to use as part of the new-app argument, with oc new-app <image url>~<git url>. If it is using a test application based on Node.js, we could use the same command as before but add nodejs~ before the URL of the Git repository. For example: oc new-app nodejs~https://github.com/<github_username>/mypublicrepo.
Important Note: How to Deploy from Private Git Repositories
If you are using a private remote Git repository, you can use the --source-secret flag to specify an existing source clone secret that will get injected into your BuildConfig to access the repository. For example: oc new-app https://github.com/myuser/yourprivaterepo --source-secret=yoursecret.
For reference, you can read this blog post, which shows how to use your private Git repository with the OpenShift Online web console.
iv. Once your application has been created, You can run oc status to see if your application was successfully built and deployed. Builds and deployments can sometimes take several minutes to complete, so you may run this several times. you can view the details by running the oc get pods command. This will show you a list of all the pods running in your project, including the pod for your new application. The oc rsh pod/<pod_name> command opens a remote shell session inside the specified OpenShift pod i.e.
v. When using the oc command-line tool to create an application, a route is not automatically set up to make your application web accessible. Run the following to make the test application web accessible: oc create route edge --service=mytestapp --insecure-policy=Redirect. Once the application is deployed and the route is set up, it can be accessed at a web URL similar to https://mytestapp-<your-namespace>.apps.shift.nerc.mghpcc.org.
For more additional resources
For more options and customization please read this.
Using the Developer Catalog on NERC's OpenShift Web Console
The Developer Catalog offers a streamlined process for deploying applications and services supported by Operator-backed services like CI/CD, Databases, Builder Images, and Helm Charts. It comprises a diverse array of application components, services, event sources, and source-to-image builders ready for integration into your project.
About Quick Start Templates
By default, the templates build using a public source repository on GitHub that contains the necessary application code. For more options and customization please read this.
Steps
-
Go to the NERC's OpenShift Web Console.
-
You need to go to the Home -> Software Catalog menu as shown below:
-
Then, you can search for available services in the Software Catalog by entering
mariadbin the search bar and selecting the desired service or component to include in your project. For this example, select Databases from the category list on the left to filter all database services, and then click MariaDB to view the service details.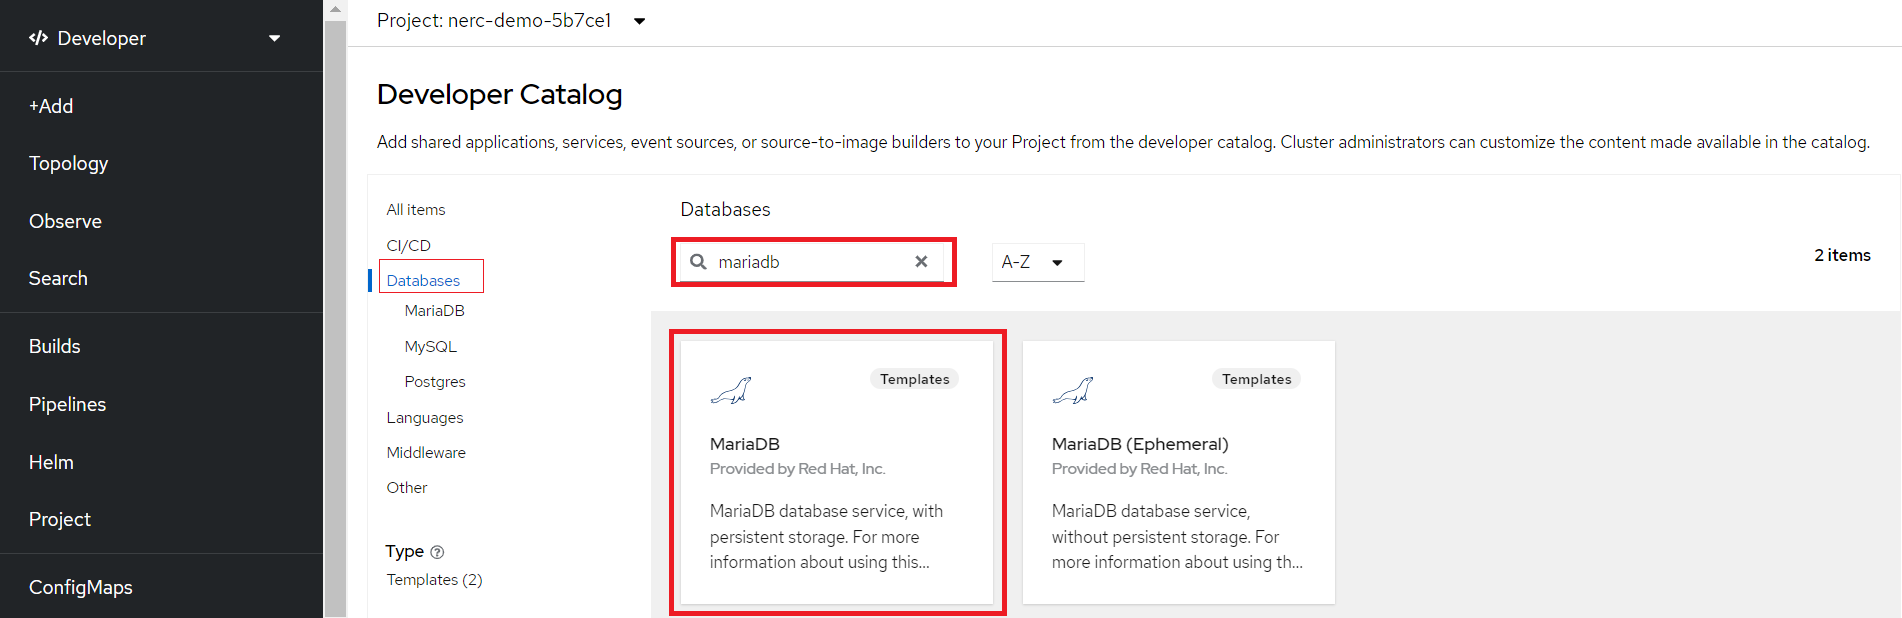
To Create Your Own Developer Catalog Service
You also have the option to create and integrate custom services into the Developer Catalog using a template, as described here.
-
Once selected by clicking the template, you will see Instantiate Template web interface as shown below:
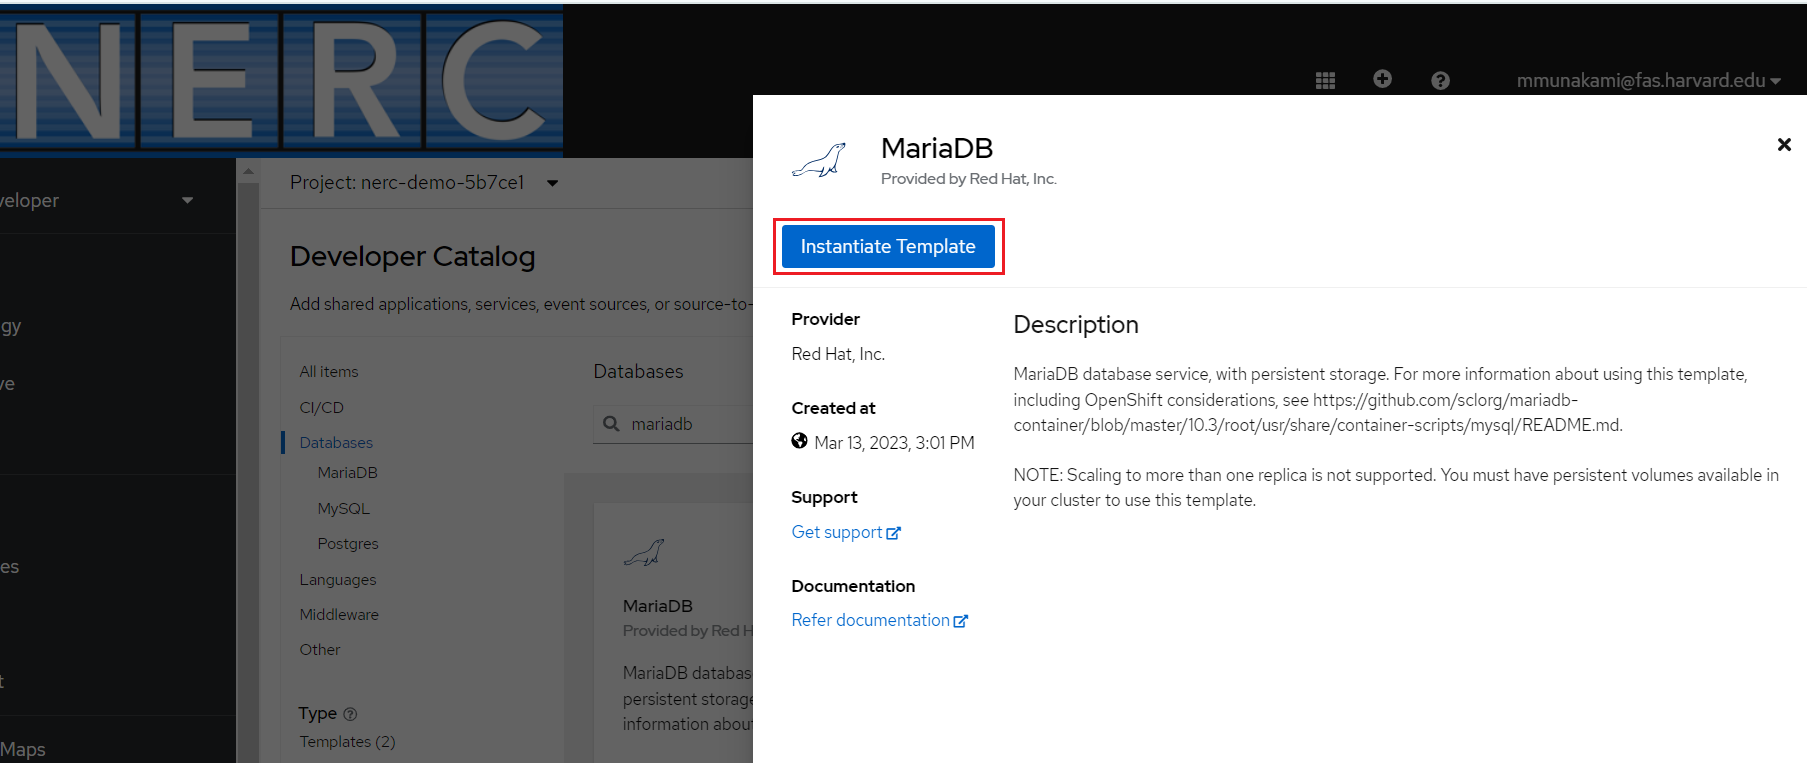
-
Clicking "Instantiate Template" will display an automatically populated template containing details for the MariaDB service. Click "Create" to begin the creation process and enter any custom information required.
-
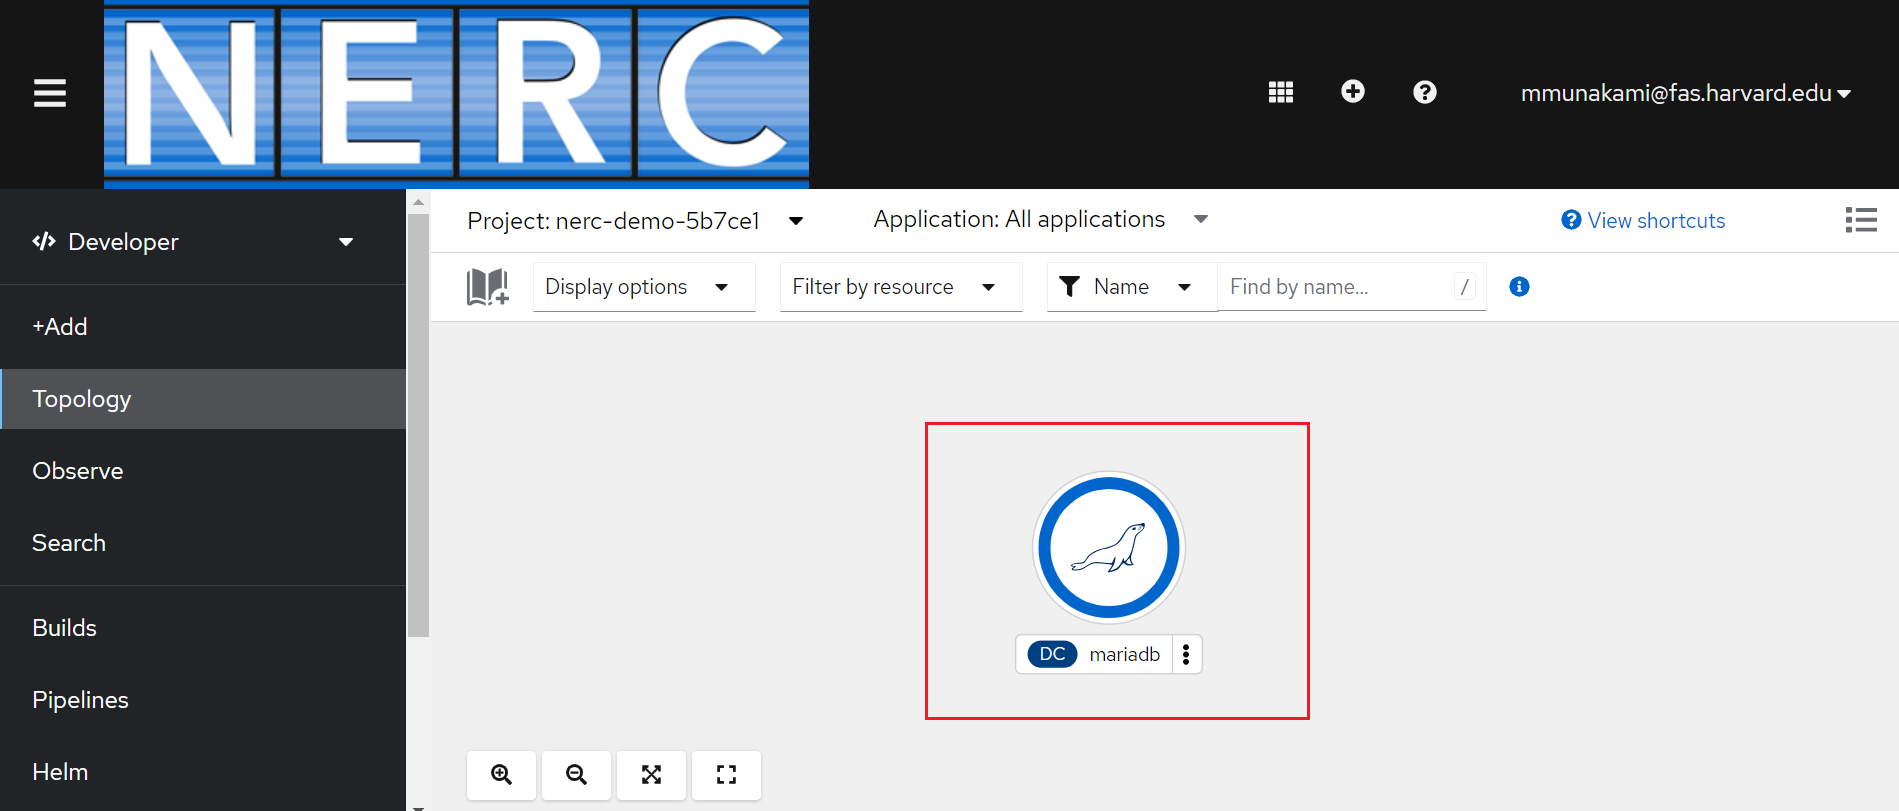
View the MariaDB service in the Topology view as shown below:
For Additional resources
For more options and customization please read this.