OpenVPN-GUI
Official OpenVPN Windows installers include a Windows OpenVPN-GUI, which allows managing OpenVPN connections from a system tray applet.
Find your client account credentials
You need to contact your project administrator to get your own OpenVPN configuration file (file with .ovpn extension). Download it and Keep it in your local machine so in next steps we can use this configuration client profile file.
Download and install OpenVPN-GUI
-
Download the OpenVPN client installer:
OpenVPN for Windows can be installed from the self-installing exe file on the OpenVPN download page. Also note that OpenVPN must be installed and run by a user who has administrative privileges (this restriction is imposed by Windows, not OpenVPN)
-
Launch the installer and follow the prompts as directed.

-
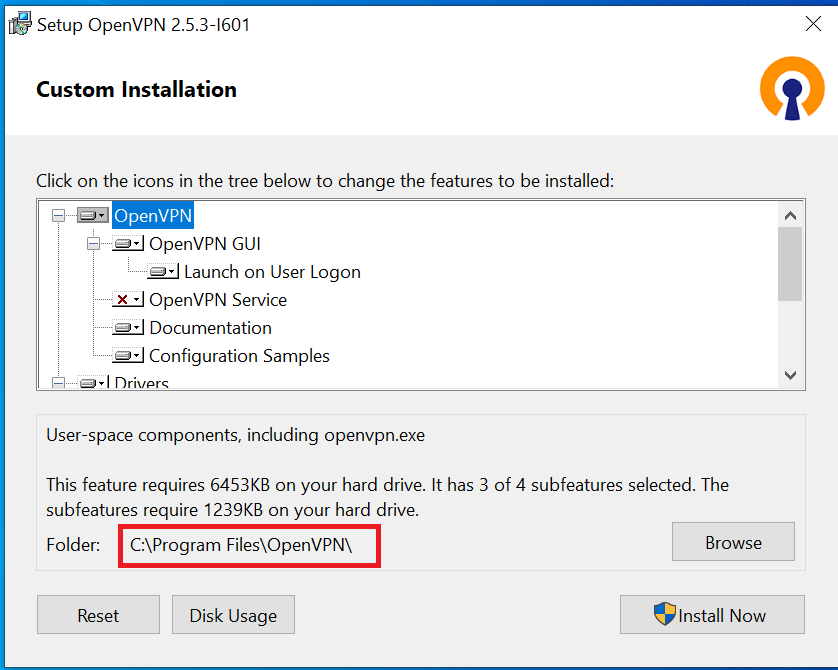
Clicking "Customize" button we can see settings and features of OpenVPN GUI client.
-
Click "Install Now" to continue.
-
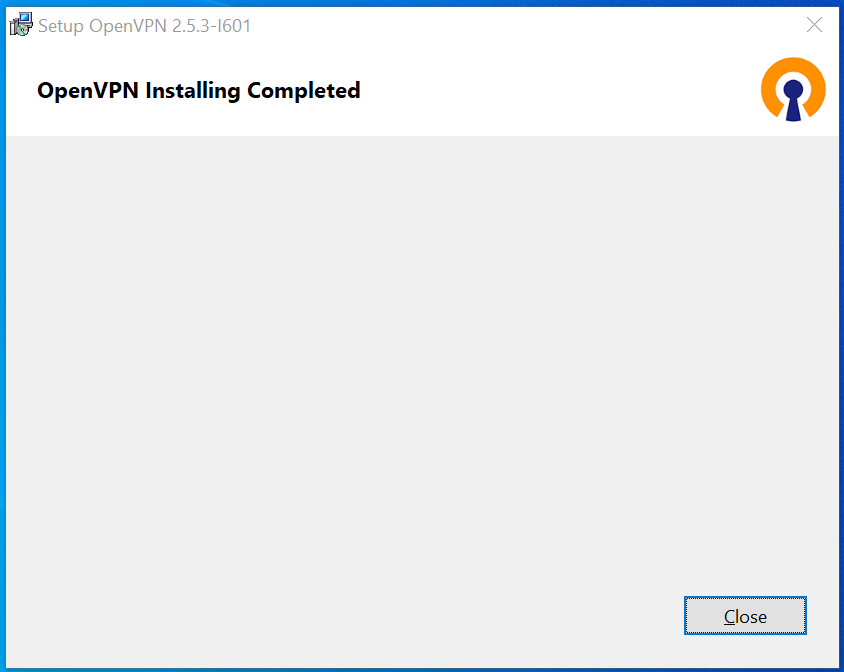
Click "Close"button.
-
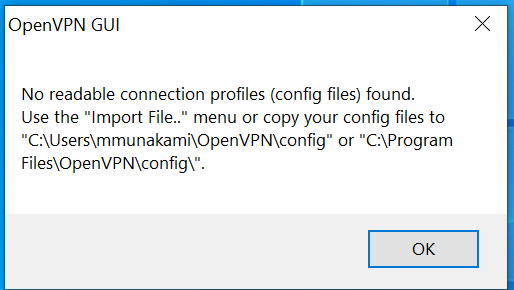
For the newly installed OpenVPN GUI there will be no configuration profile for the client so it will show a pop up that alerts:
Set up the VPN with OpenVPN GUI
After you've run the Windows installer, OpenVPN is ready for use and will associate itself with files having the .ovpn extension.
-
You can use the previously downloaded .ovpn file from your Downloads folder to setup the connection profiles.
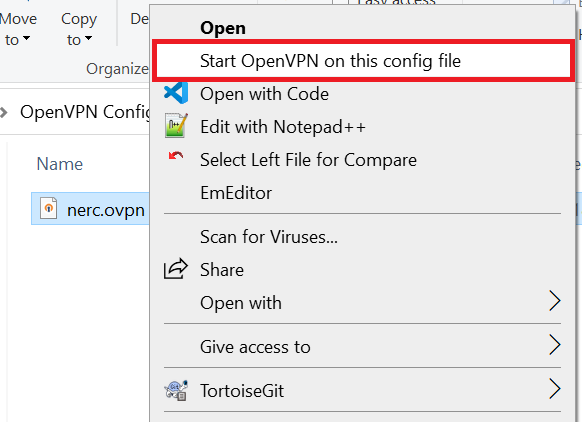
a. Either you can Right click on the OpenVPN configuration file (.ovpn) and select "Start OpenVPN on this config file":
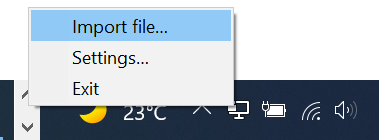
b. OR, you can use "Import file…" menu to select the previously downloaded .ovpn file.
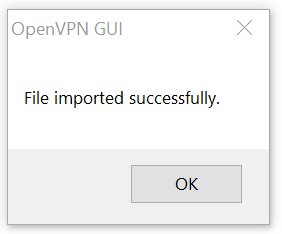
Once, done it will show:
c. OR, you can manually copy the config file to one of OpenVPN's configuration directories:
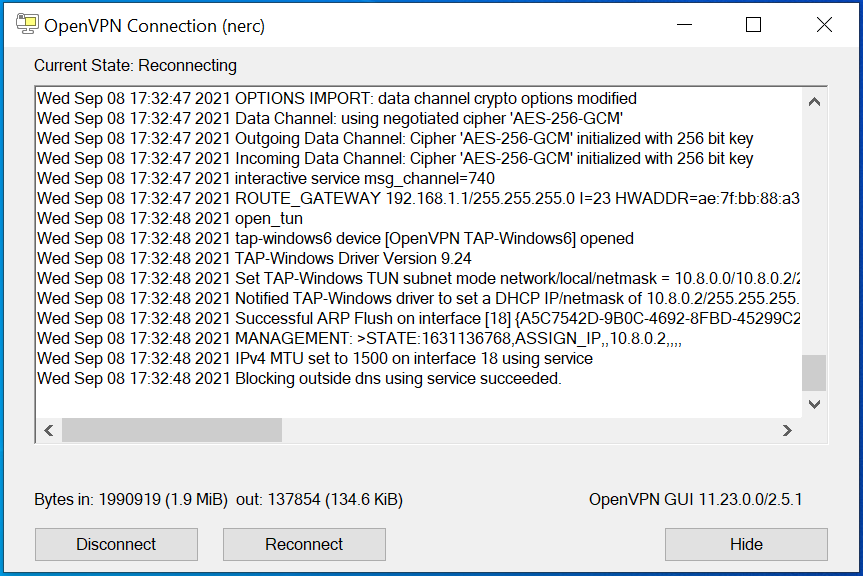
Connect to a VPN server location
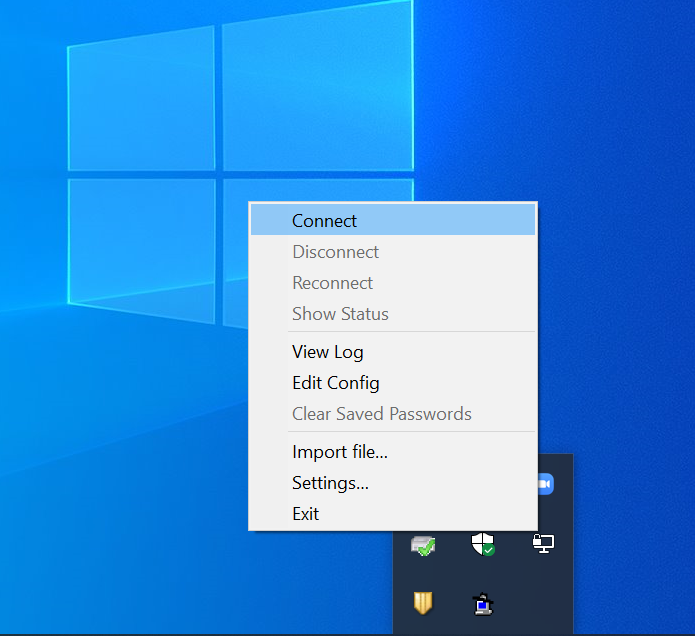
For launching OpenVPN Connections you click on OpenVPN GUI (tray applet). OpenVPN GUI is used to launching VPN connections on demand. OpenVPN GUI is a system-tray applet, so an icon for the GUI will appear in the lower-right corner of the screen located at the taskbar notification area. Right click on the system tray icon, and if you have multiple configurations then a menu should appear showing the names of your OpenVPN configuration profiles and giving you the option to connect. If you have only one configuration then you can just click on "Connect" menu.
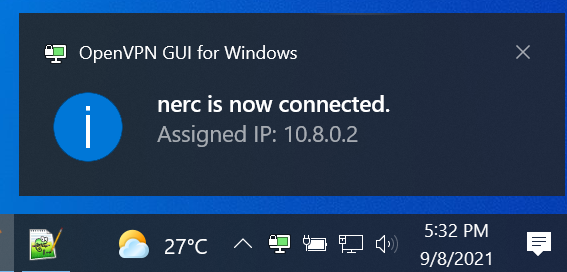
When you are connected to OpenVPN server successfully, you will see popup message as shown below. That's it! You are now connected to a VPN.
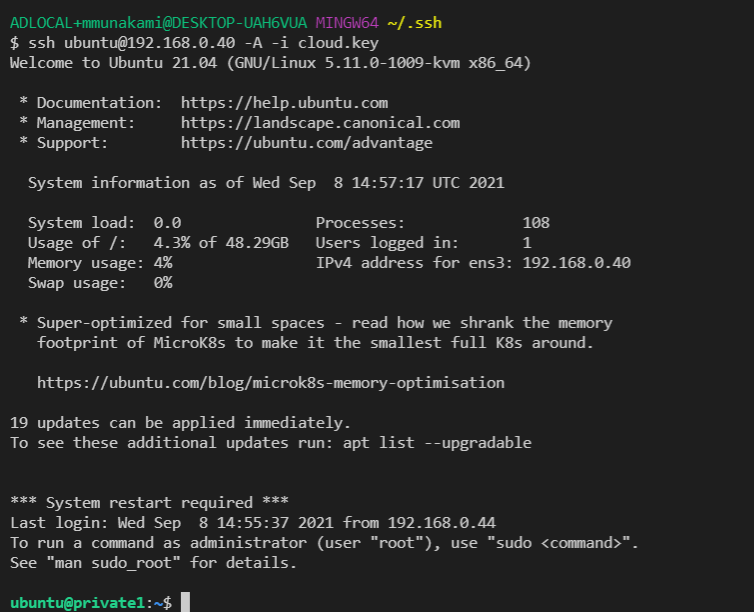
Once you are connected to the OpenVPN server, you can run commands like shown below in your terminal to connect to the private instances: ssh ubuntu@192.168. 0.40 -A -i cloud.key
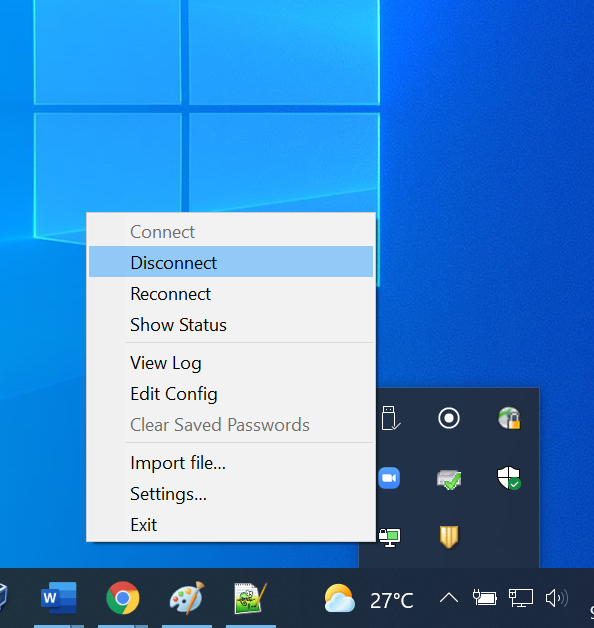
Disconnect VPN server
To disconnect, right click on the system tray icon, in your status bar and select Disconnect from the menu.