Tunnelblick
Tunnelblick is a free, open-source GUI (graphical user interface) for OpenVPN on macOS and OS X: More details can be found here. Access to a VPN server - your computer is one end of the tunnel and the VPN server is the other end.
Find your client account credentials
You need to contact your project administrator to get your own OpenVPN configuration file (file with .ovpn extension). Download it and Keep it in your local machine so in next steps we can use this configuration client profile file.
Download and install Tunnelblick
-
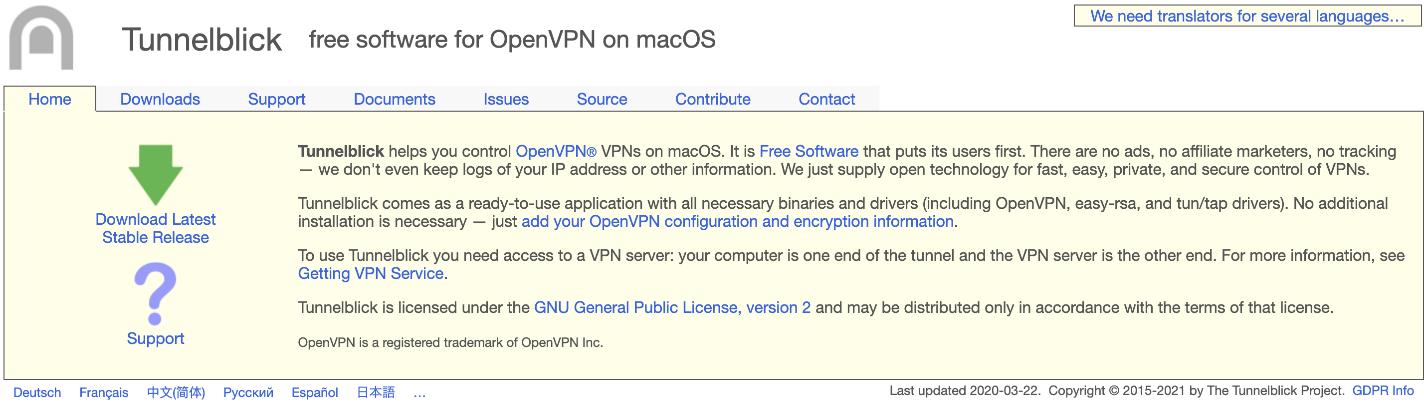
Download Tunnelblick, a free and user-friendly app for managing OpenVPN connections on macOS.
-
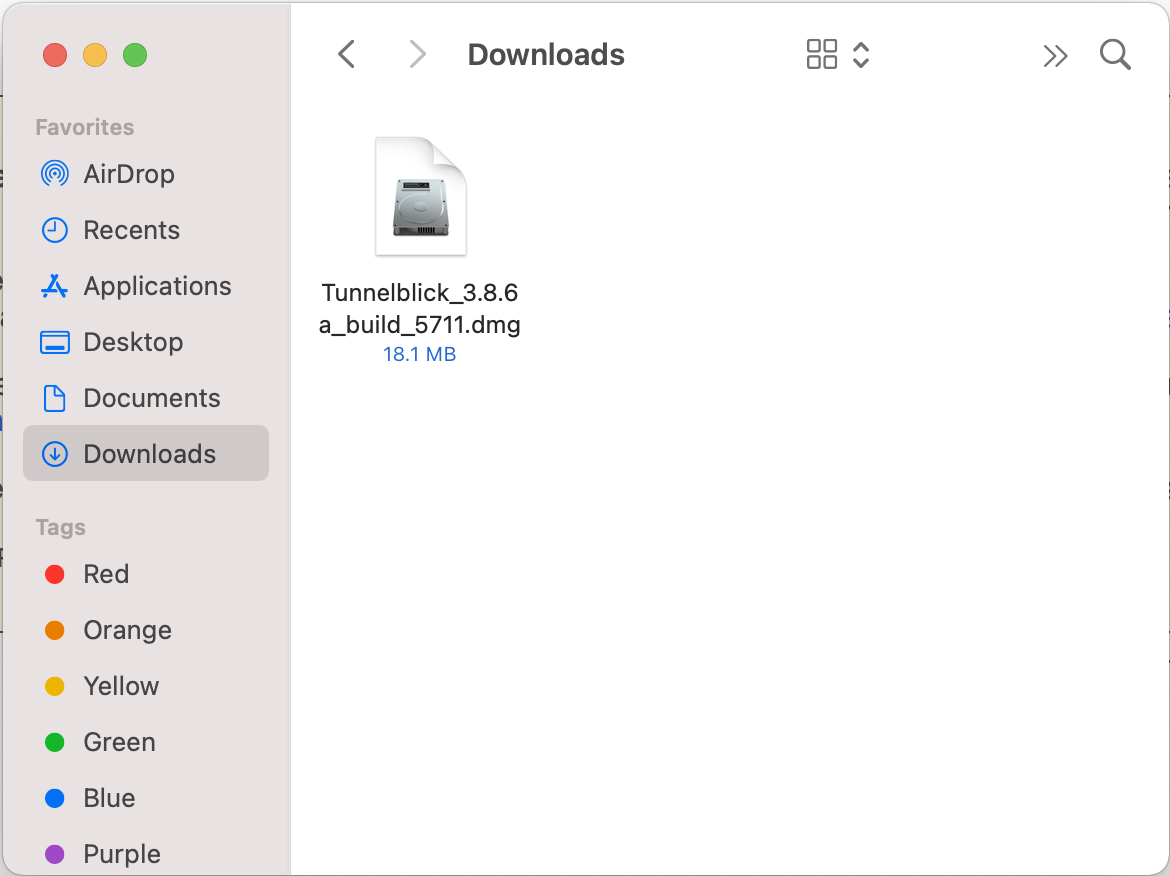
Navigate to your Downloads folder and double-click the Tunnelblick installation file (.dmg installer file) you have just downloaded.
-
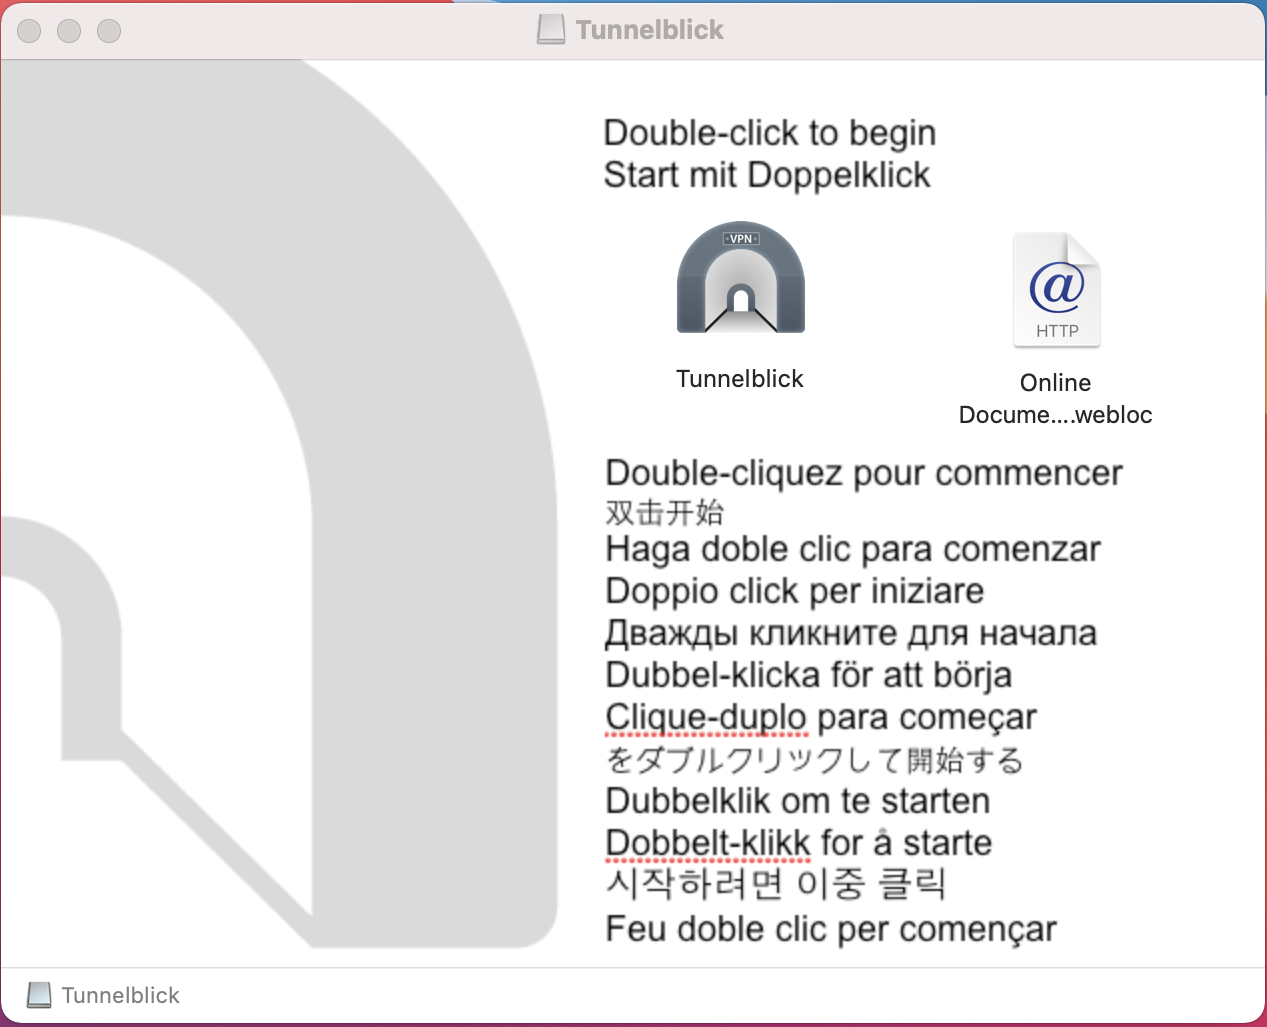
In the window that opens, double-click on the Tunnelblick icon.
-
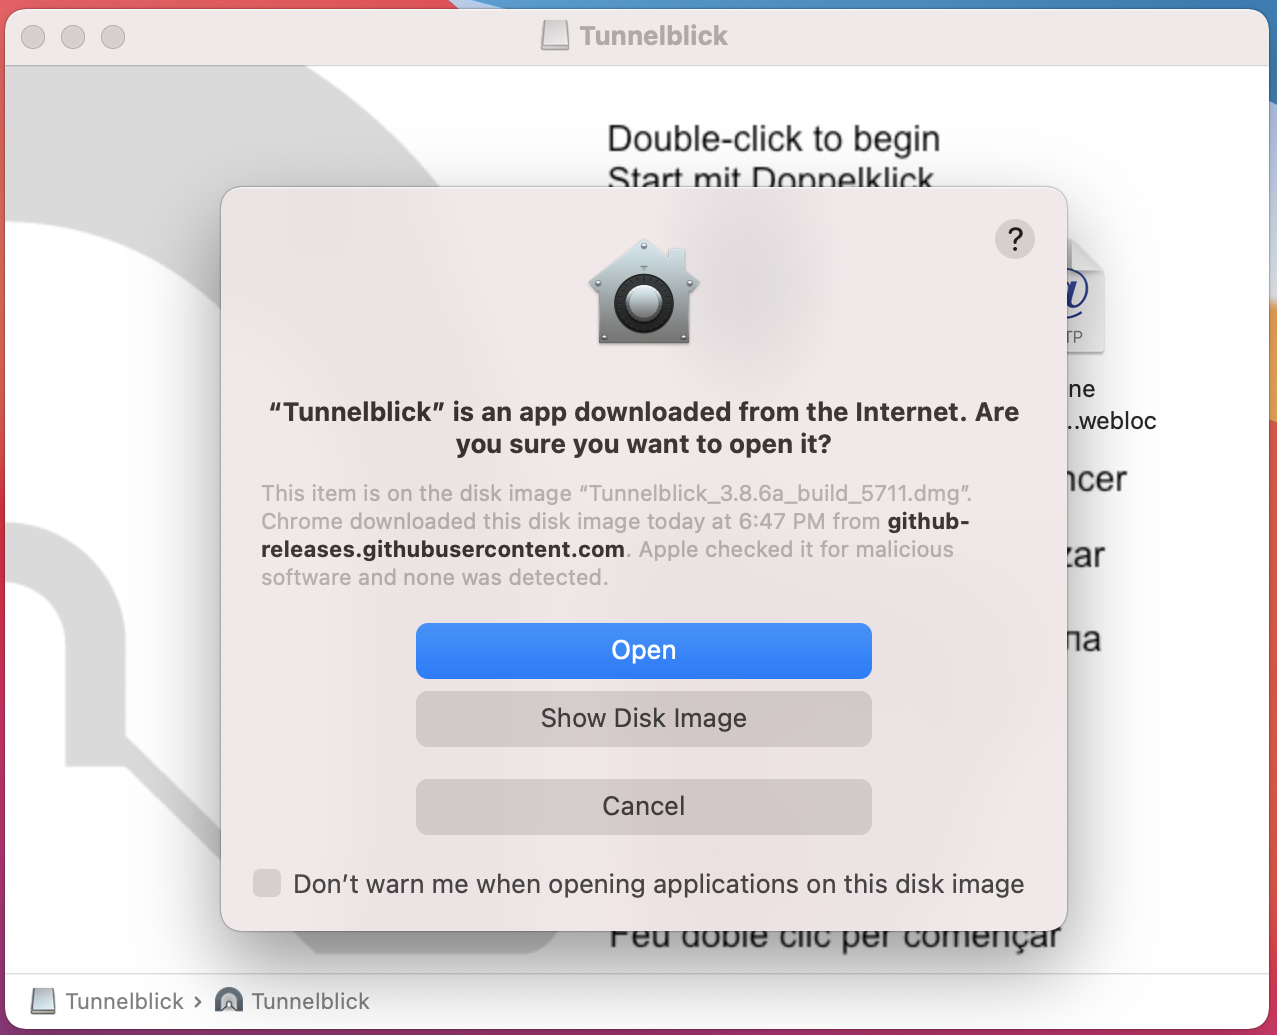
A new dialogue box will pop up, asking you if you are sure you want to open the app. Click Open.
-
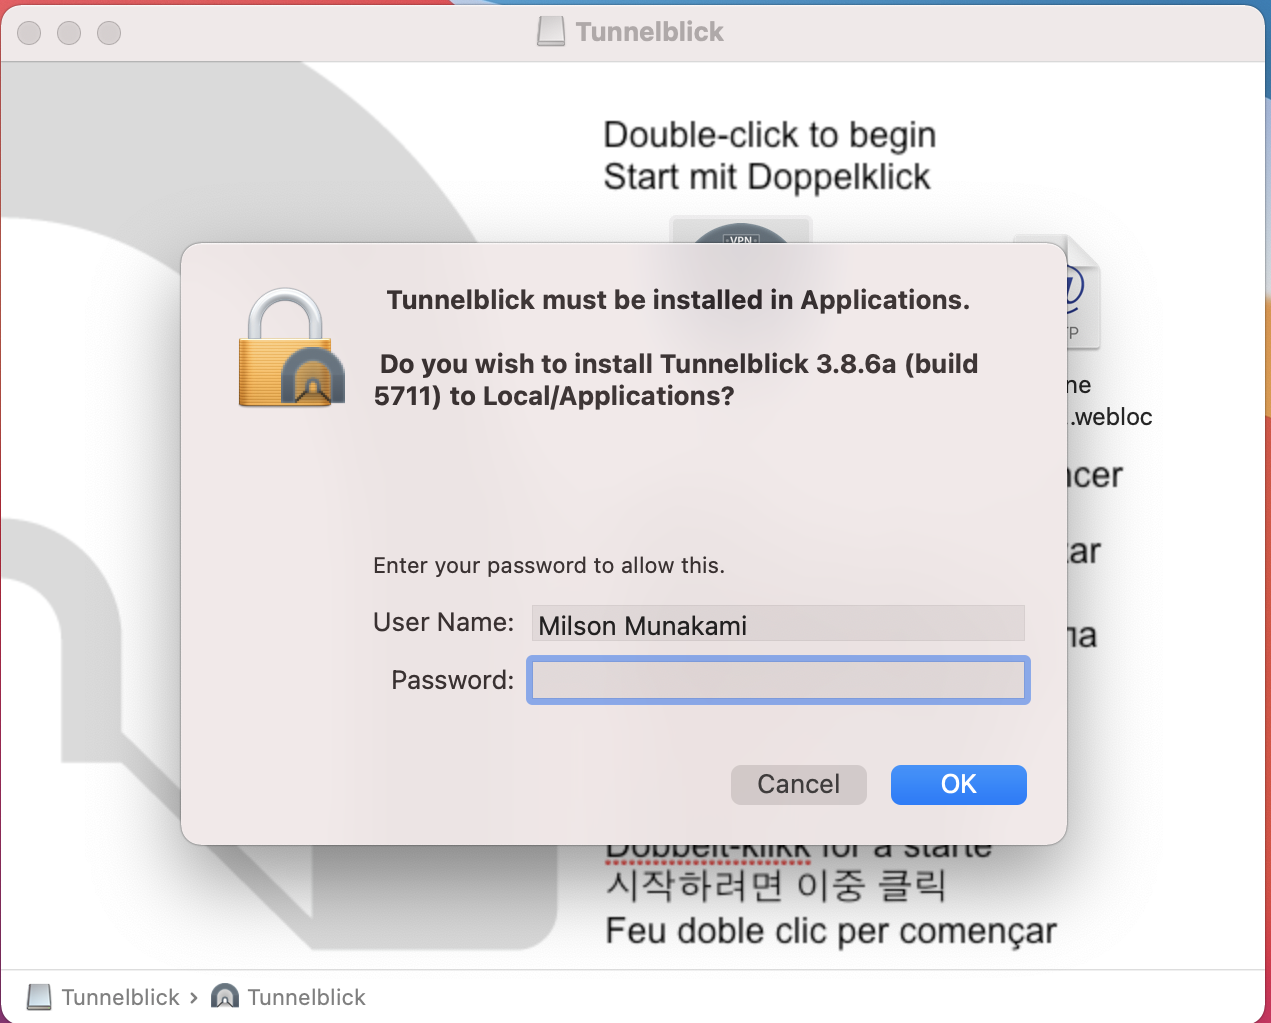
You will be asked to enter your device password. Enter it and click OK:
-
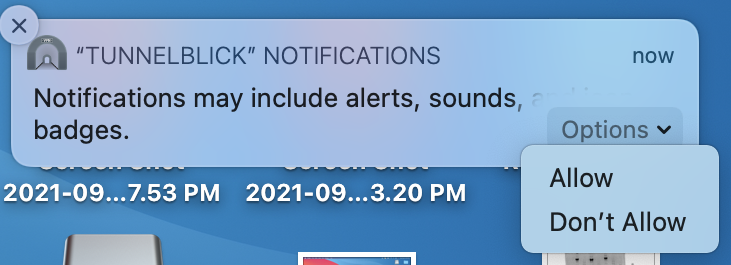
Select Allow or Don't Allow for your notification preference.
-
Once the installation is complete, you will see a pop-up notification asking you if you want to launch Tunnelblick now. (An administrator username and password will be required to secure Tunnelblick). Click Launch.
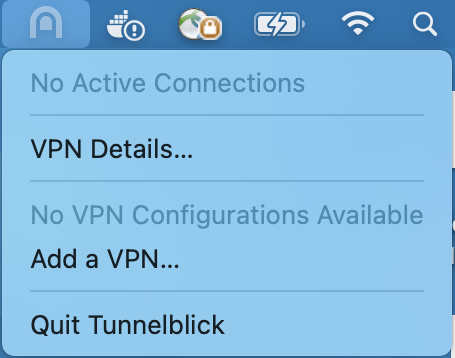
Alternatively, you can click on the Tunnelblick icon in the status bar and select VPN Details...:
Set up the VPN with Tunnelblick
-
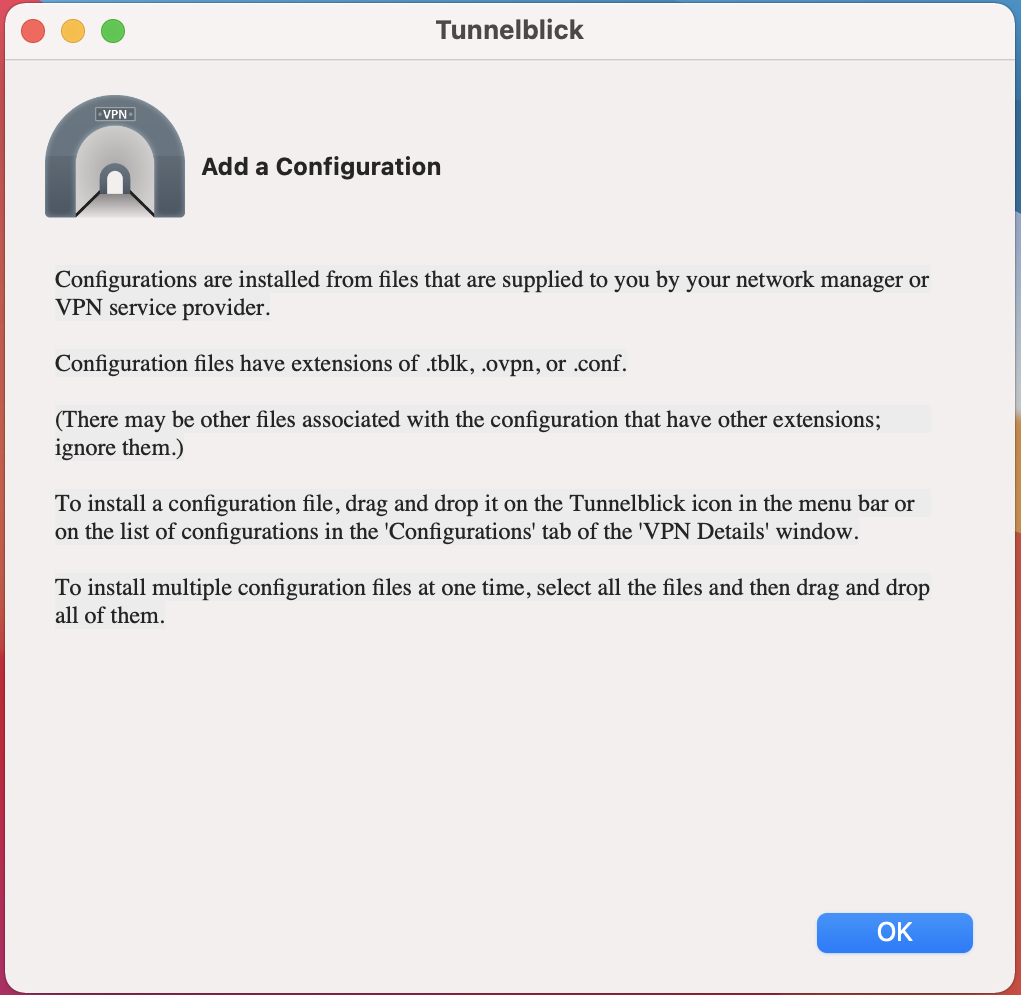
A new dialogue box will appear. Click I have configuration files.

-
Another notification will pop-up, instructing you how to import configuration files. Click OK.
-
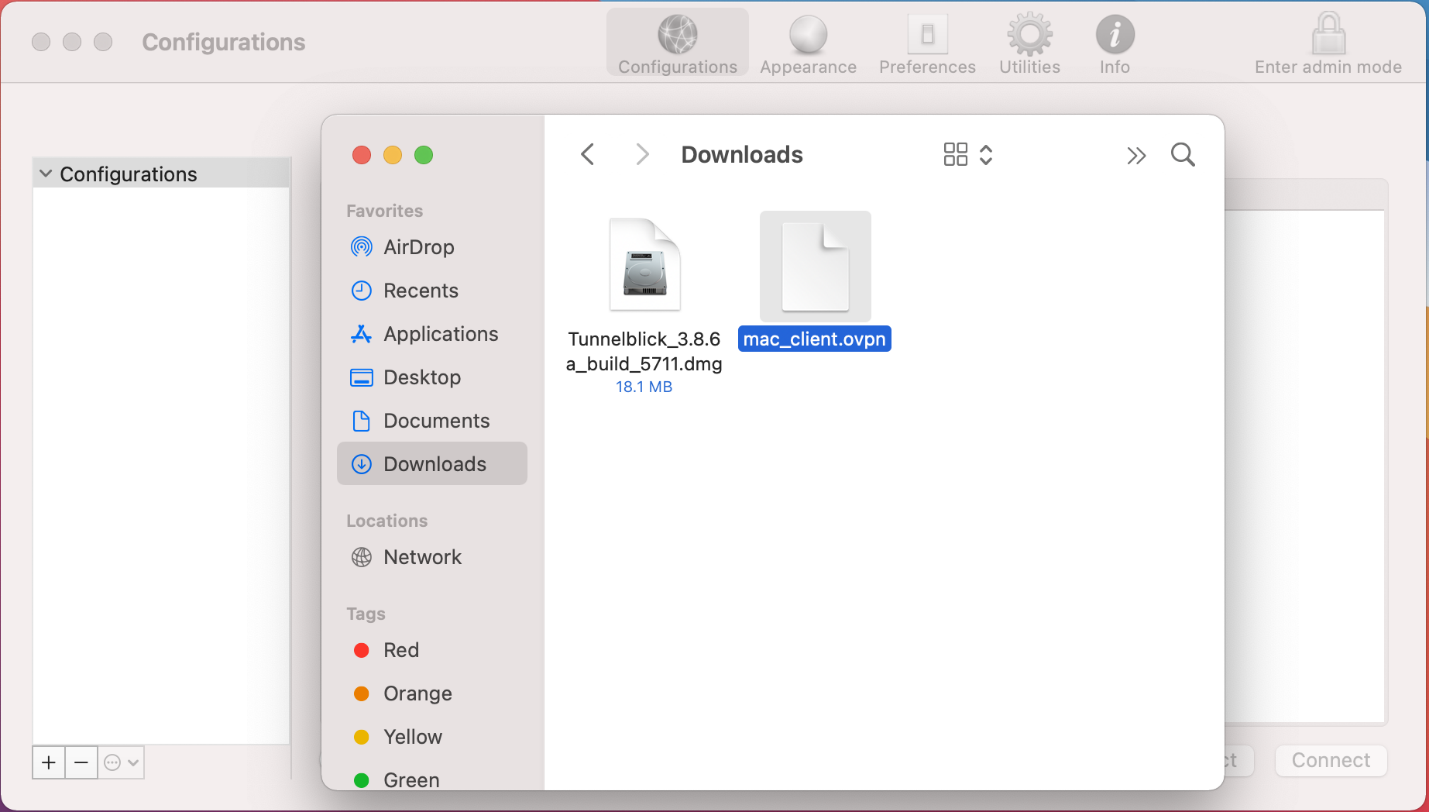
Drag and drop the previously downloaded .ovpn file from your Downloads folder to the Configurations tab in Tunnelblick.
OR,
You can just drag and drop the provided OpenVPN configuration file (file with .ovpn extension) directly to Tunnelblick icon in status bar at the top-right corner of your screen.

-
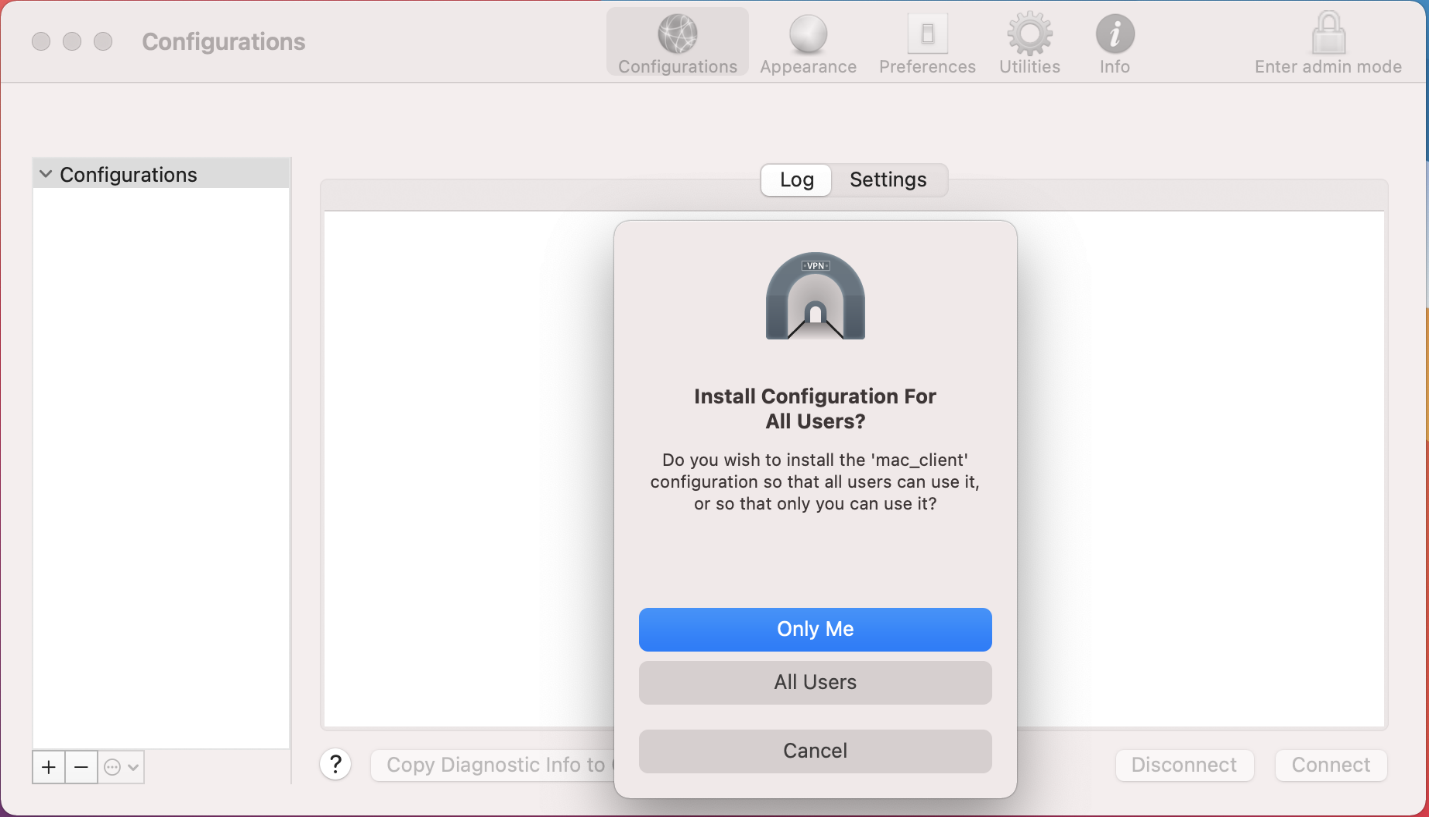
A pop-up will appear, asking you if you want to install the configuration profile for your current user only or for all users on your Mac. Select your preferred option. If the VPN is intended for all accounts on your Mac, select All Users. If the VPN will only be used by your current account, select Only Me.
-
You will be asked to enter your Mac password.
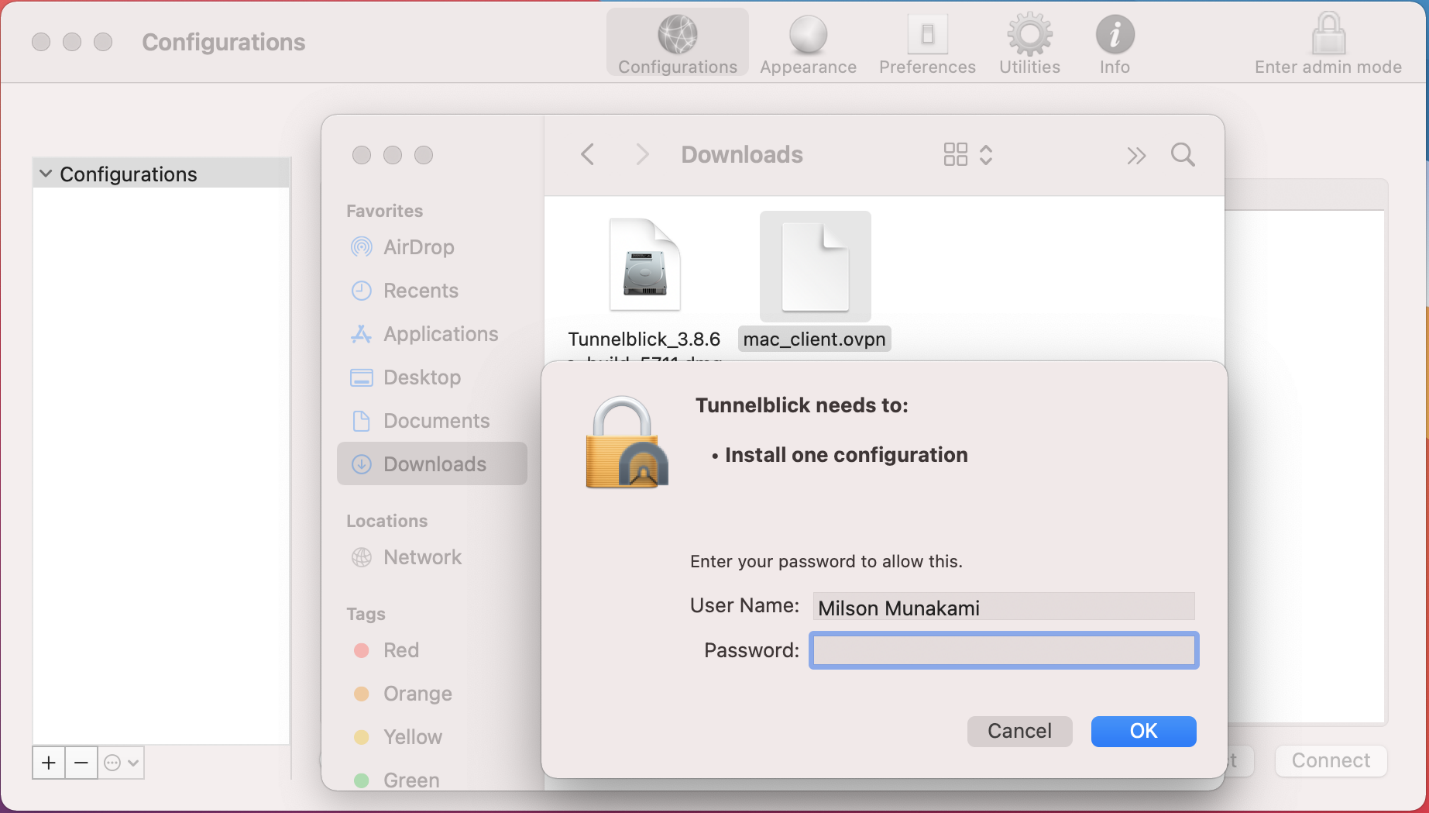

Then the screen reads "Tunnelblick successfully: installed one configuration".

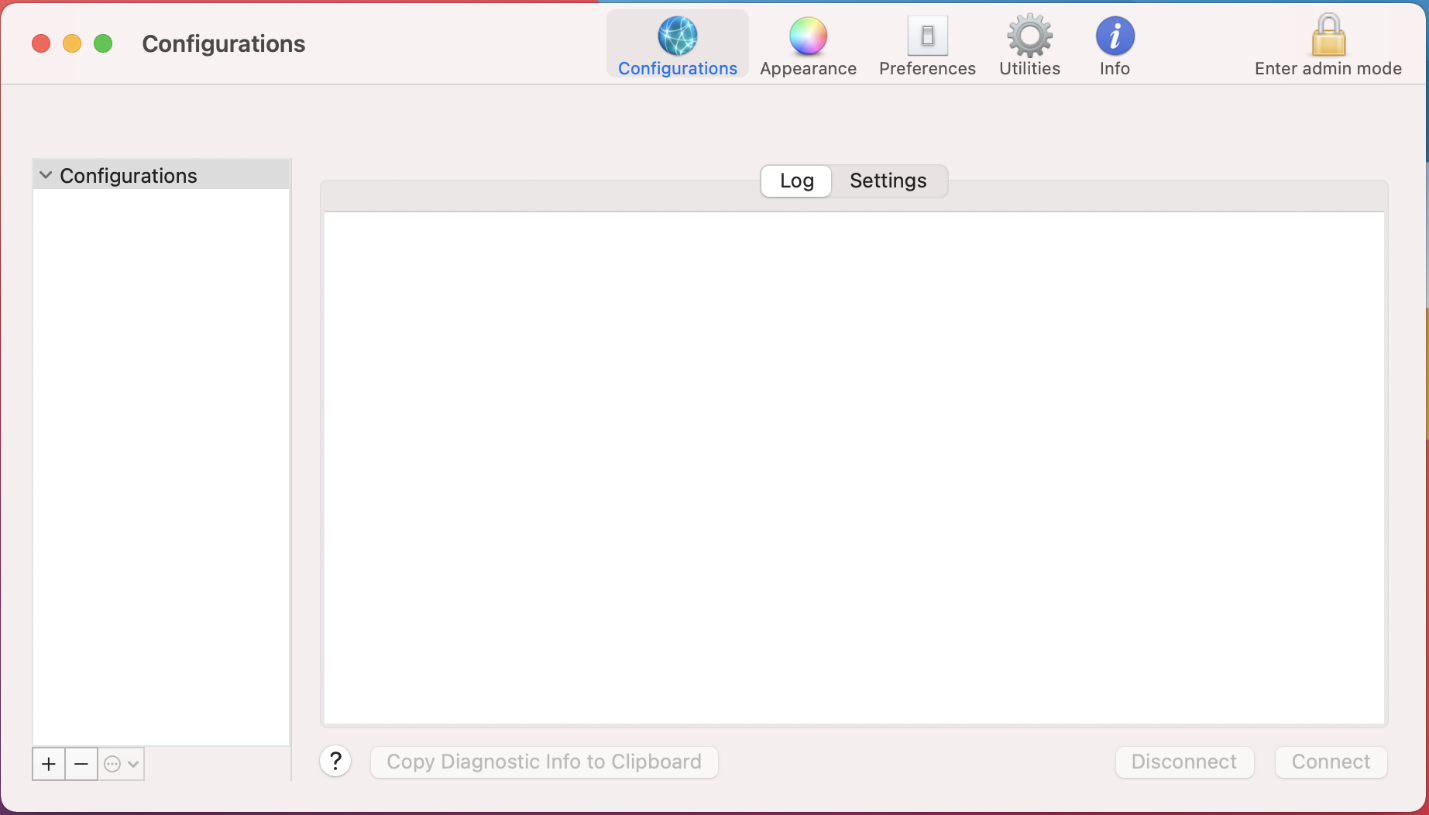
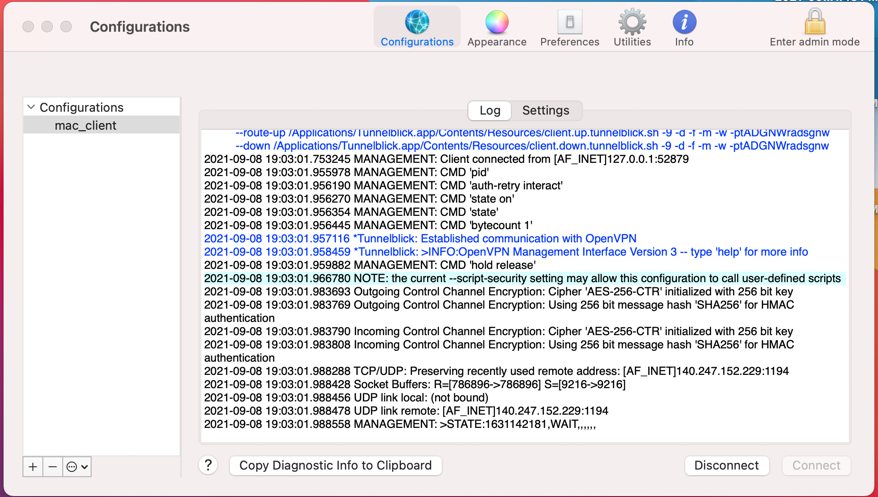
You can see the configuration setting is loaded and installed successfully.
Connect to a VPN server location
-
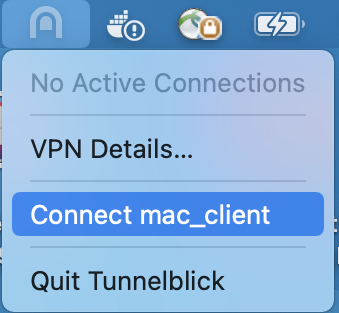
To connect to a VPN server location, click the Tunnelblick icon in status bar at the top-right corner of your screen.

-
From the drop down menu select the server and click Connect [name of the .ovpn configuration file]..
Alternatively, you can select "VPN Details" from the menu and then click the "Connect"button:
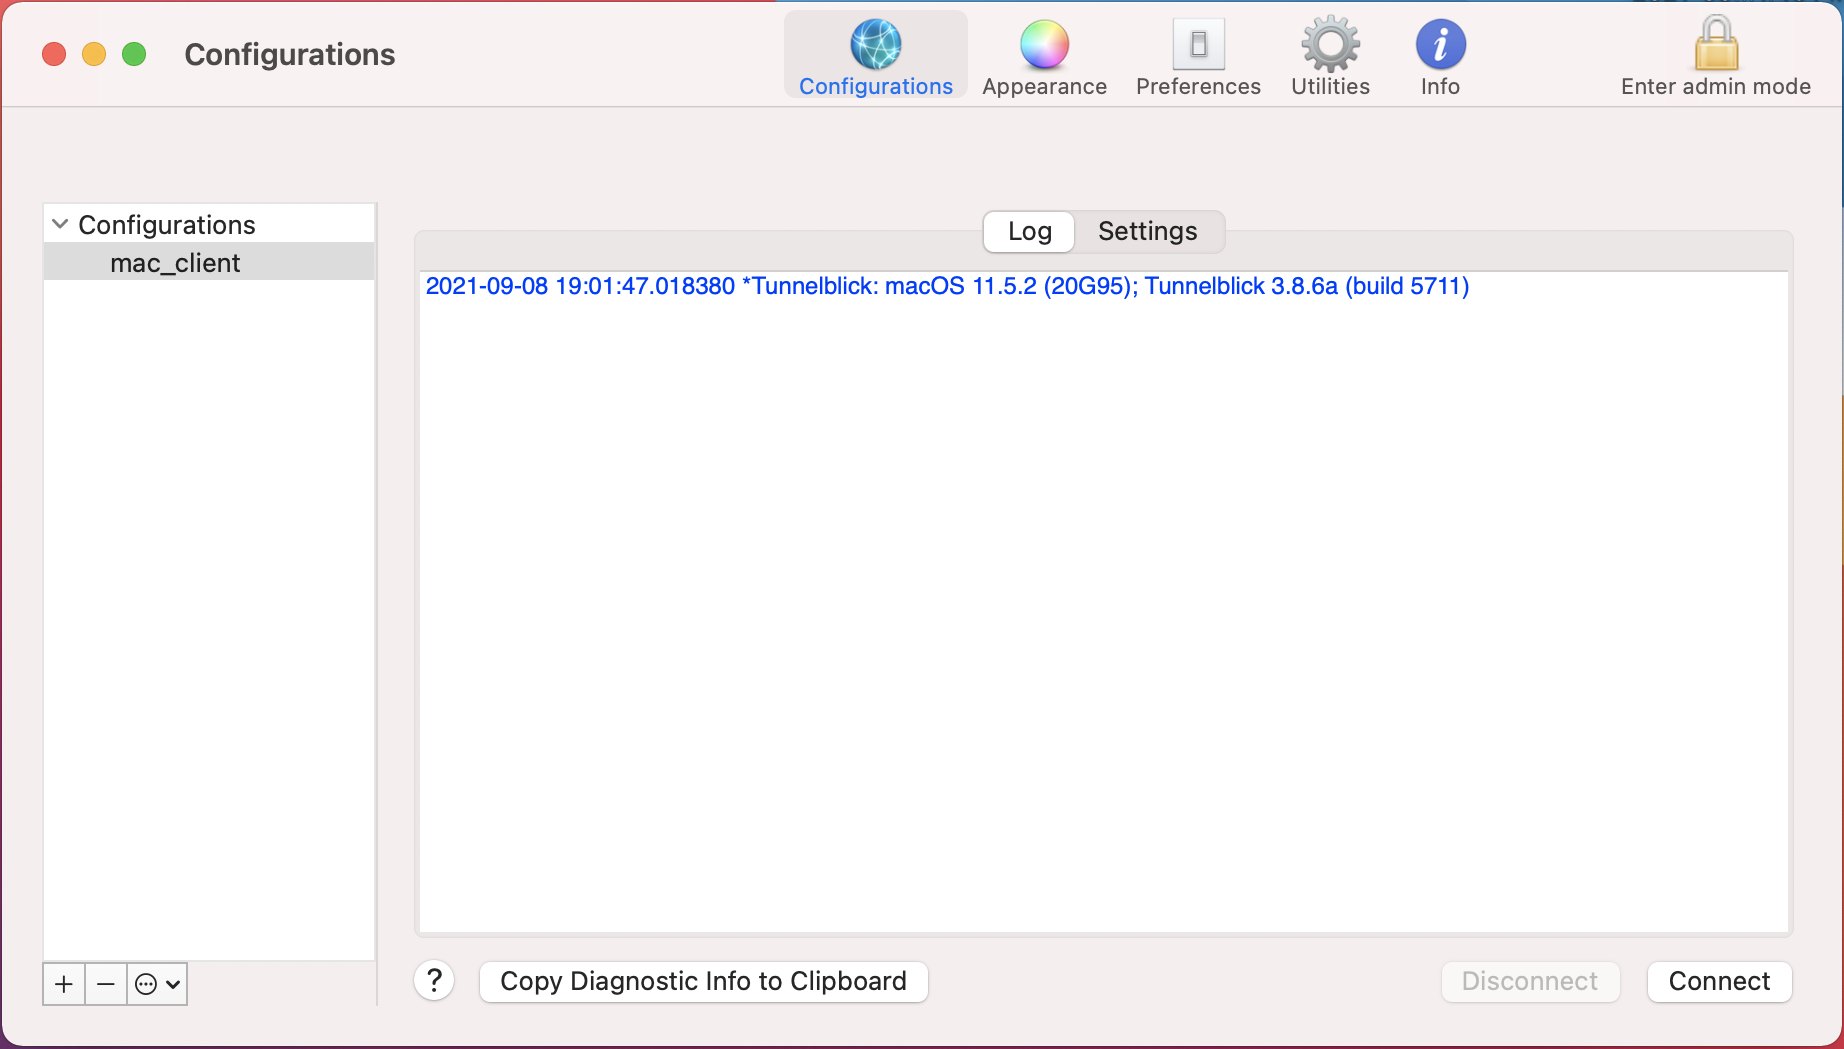
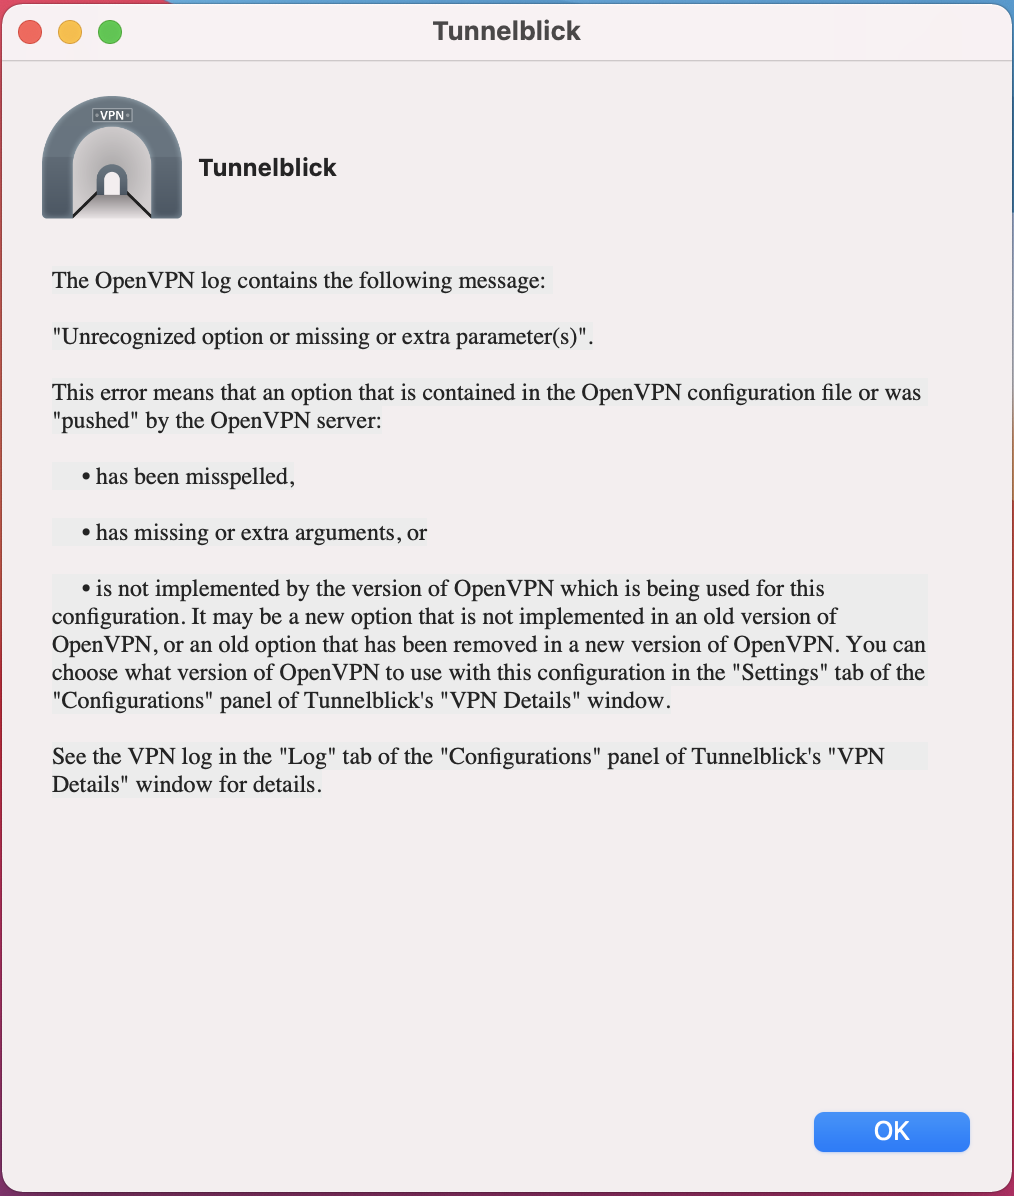
This will show the connection log on the dialog:
-
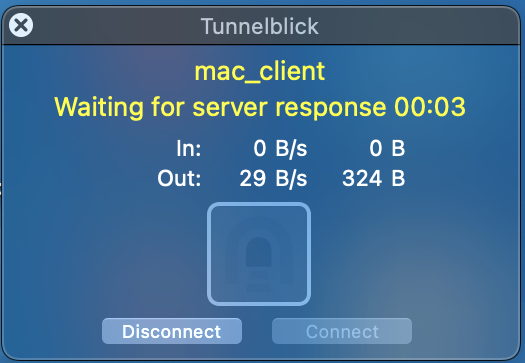
When you are connected to OpenVPN server successfully, you will see popup message as shown below. That's it! You are now connected to a VPN.
-
Once you are connected to the OpenVPN server, you can run commands like shown below to connect to the private instances:
ssh ubuntu@192.168.0.40 -A -i cloud.key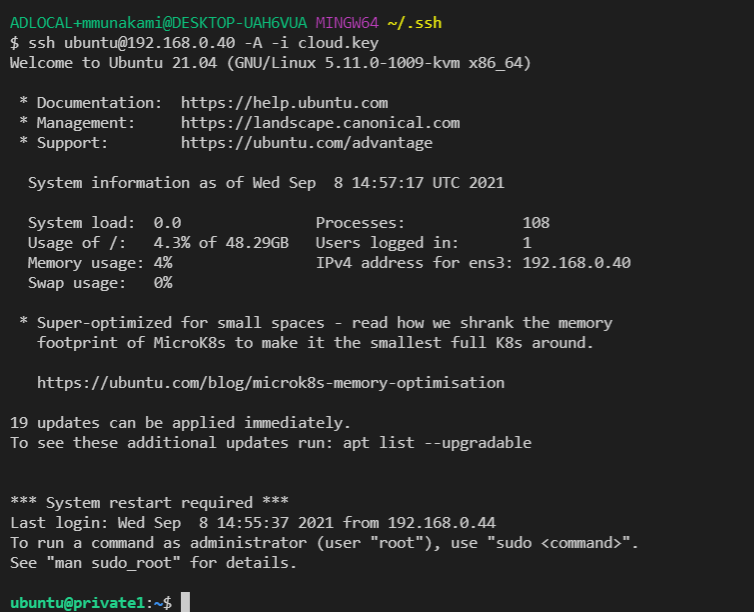
Disconnect VPN server
To disconnect, click on the Tunnelblick icon in your status bar and select Disconnect in the drop-down menu.
![]()
While closing the log will be shown on popup as shown below: