Microk8s
Pre-requisite
We will need 1 VM to create a single node kubernetes cluster using microk8s. We are using following setting for this purpose:
-
1 Linux machine,
ubuntu-22.04-x86_64or your choice of Ubuntu OS image,cpu-su.2flavor with 2vCPU, 8GB RAM, 20GB storage - also assign Floating IP to this VM. -
setup Unique hostname to the machine using the following command:
For example:
Install MicroK8s on Ubuntu
Run the below command on the Ubuntu VM:
-
SSH into microk8s machine
-
Switch to root user:
sudo su -
Update the repositories and packages:
-
Install MicroK8s:
-
Check the status while Kubernetes starts
-
Turn on the services you want:
Try
microk8s enable --helpfor a list of available services and optional features.microk8s disable <name>turns off a service. For example other useful services are:microk8s enable registry istio storage -
Start using Kubernetes
If you mainly use MicroK8s you can make our kubectl the default one on your command-line with
alias mkctl="microk8s kubectl". Since it is a standard upstream kubectl, you can also drive other Kubernetes clusters with it by pointing to the respective kubeconfig file via the--kubeconfigargument. -
Access the Kubernetes dashboard UI:

As we see above the kubernetes-dashboard service in the kube-system namespace has a ClusterIP of 10.152.183.73 and listens on TCP port 443. The ClusterIP is randomly assigned, so if you follow these steps on your host, make sure you check the IP adress you got.
-
Keep running the kubernetes-dashboad on Proxy to access it via web browser:
microk8s dashboard-proxy

Checking if Dashboard is running.
Dashboard will be available at https://127.0.0.1:10443
Use the following token to login:
eyJhbGc....
Important
This tells us the IP address of the Dashboard and the port. The values assigned to your Dashboard will differ. Please note the displayed PORT and the TOKEN that are required to access the kubernetes-dashboard. Make sure, the exposed PORT is opened in Security Groups for the instance following this guide.
This will show the token to login to the Dashbord shown on the url with NodePort.
You'll need to wait a few minutes before the dashboard becomes available. If you open a web browser on the same desktop you deployed Microk8s and point it to
https://<Floating-IP>:<PORT>(where PORT is the PORT assigned to the Dashboard noted while running the above command), you'll need to accept the risk (because the Dashboard uses a self-signed certificate). And, we can enter the previously noted TOKEN to access the kubernetes-dashboard.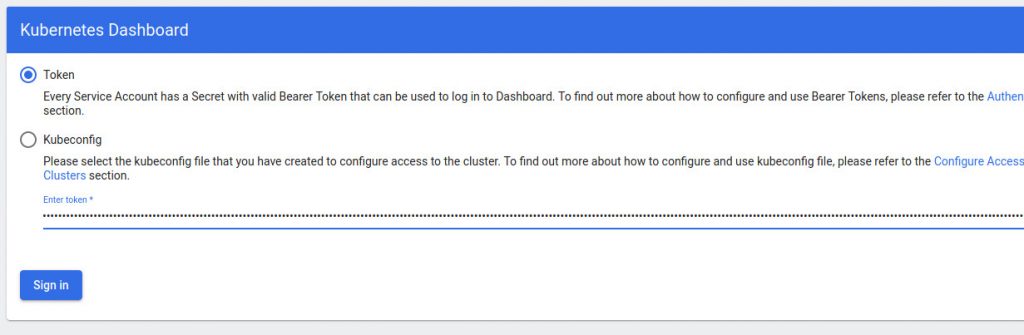
Once you enter the correct TOKEN the kubernetes-dashboard is accessed and looks like below:
Information
-
Start and stop Kubernetes: Kubernetes is a collection of system services that talk to each other all the time. If you don't need them running in the background then you will save battery by stopping them.
microk8s startandmicrok8s stopwill those tasks for you. -
To Reset the infrastructure to a clean state:
microk8s reset
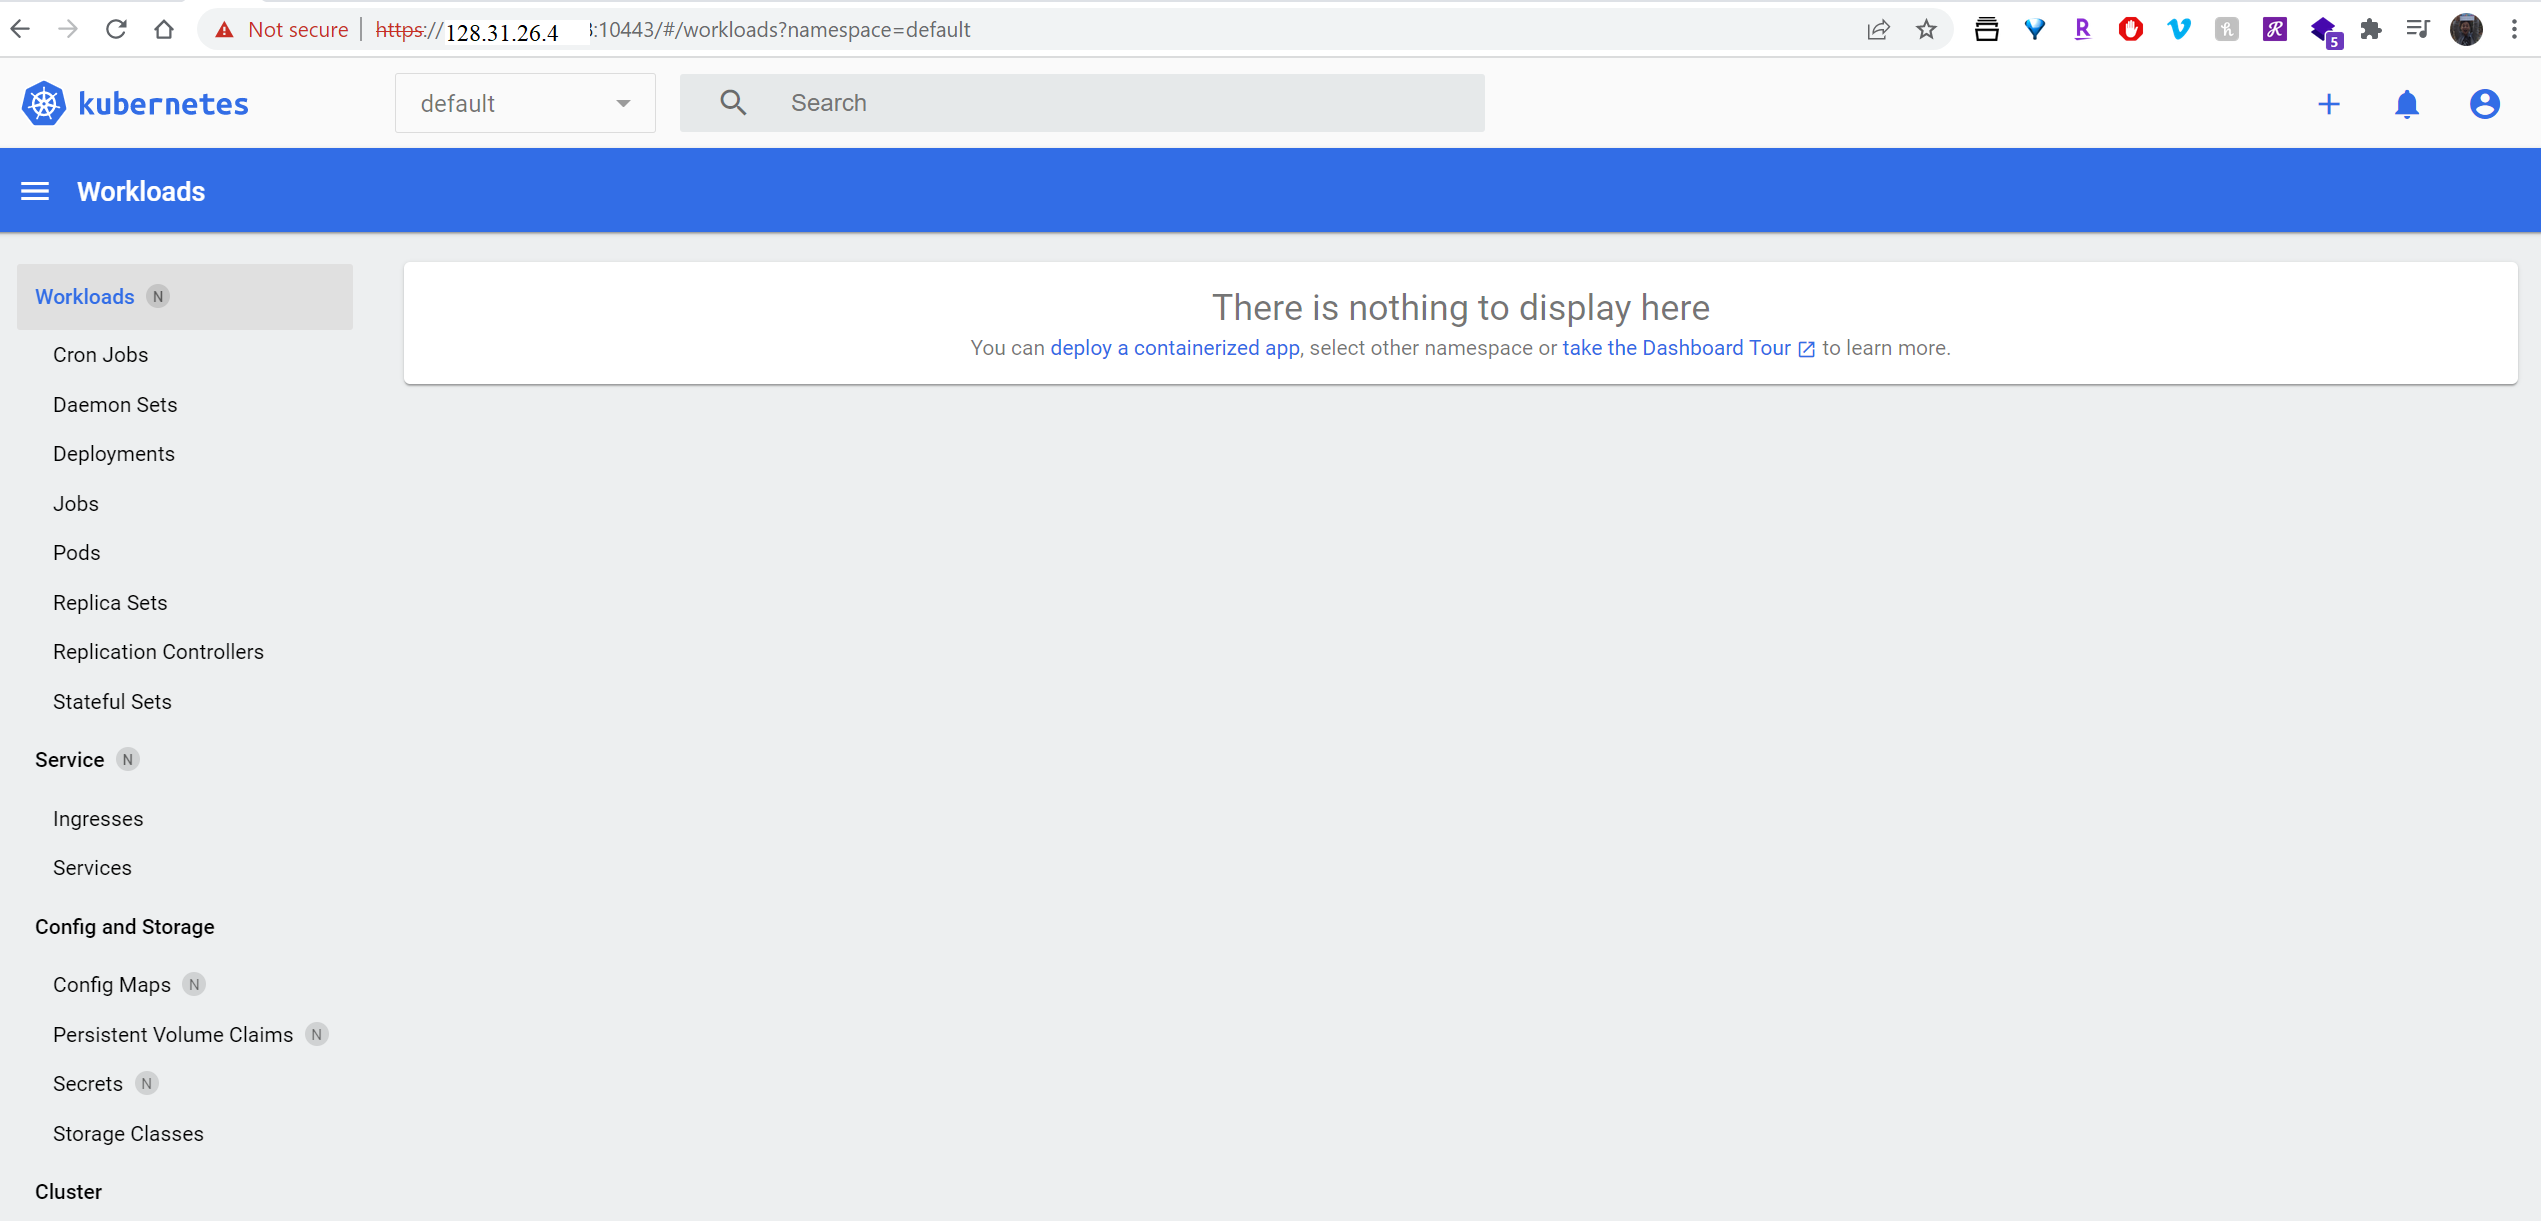
Deploy a Container using the Kubernetes-Dashboard
Click on the + button in the top left corner of the main window. On the resulting page, click Create from form and then fill out the necessary information as shown below:
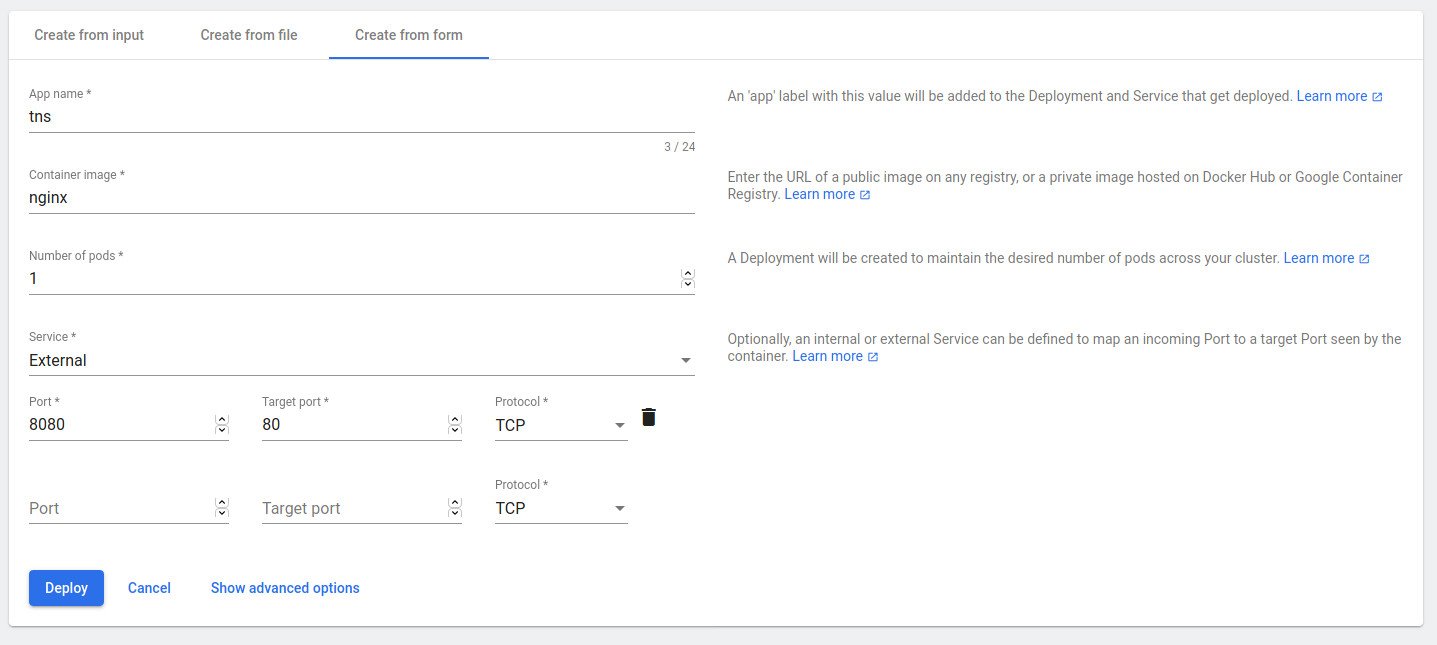
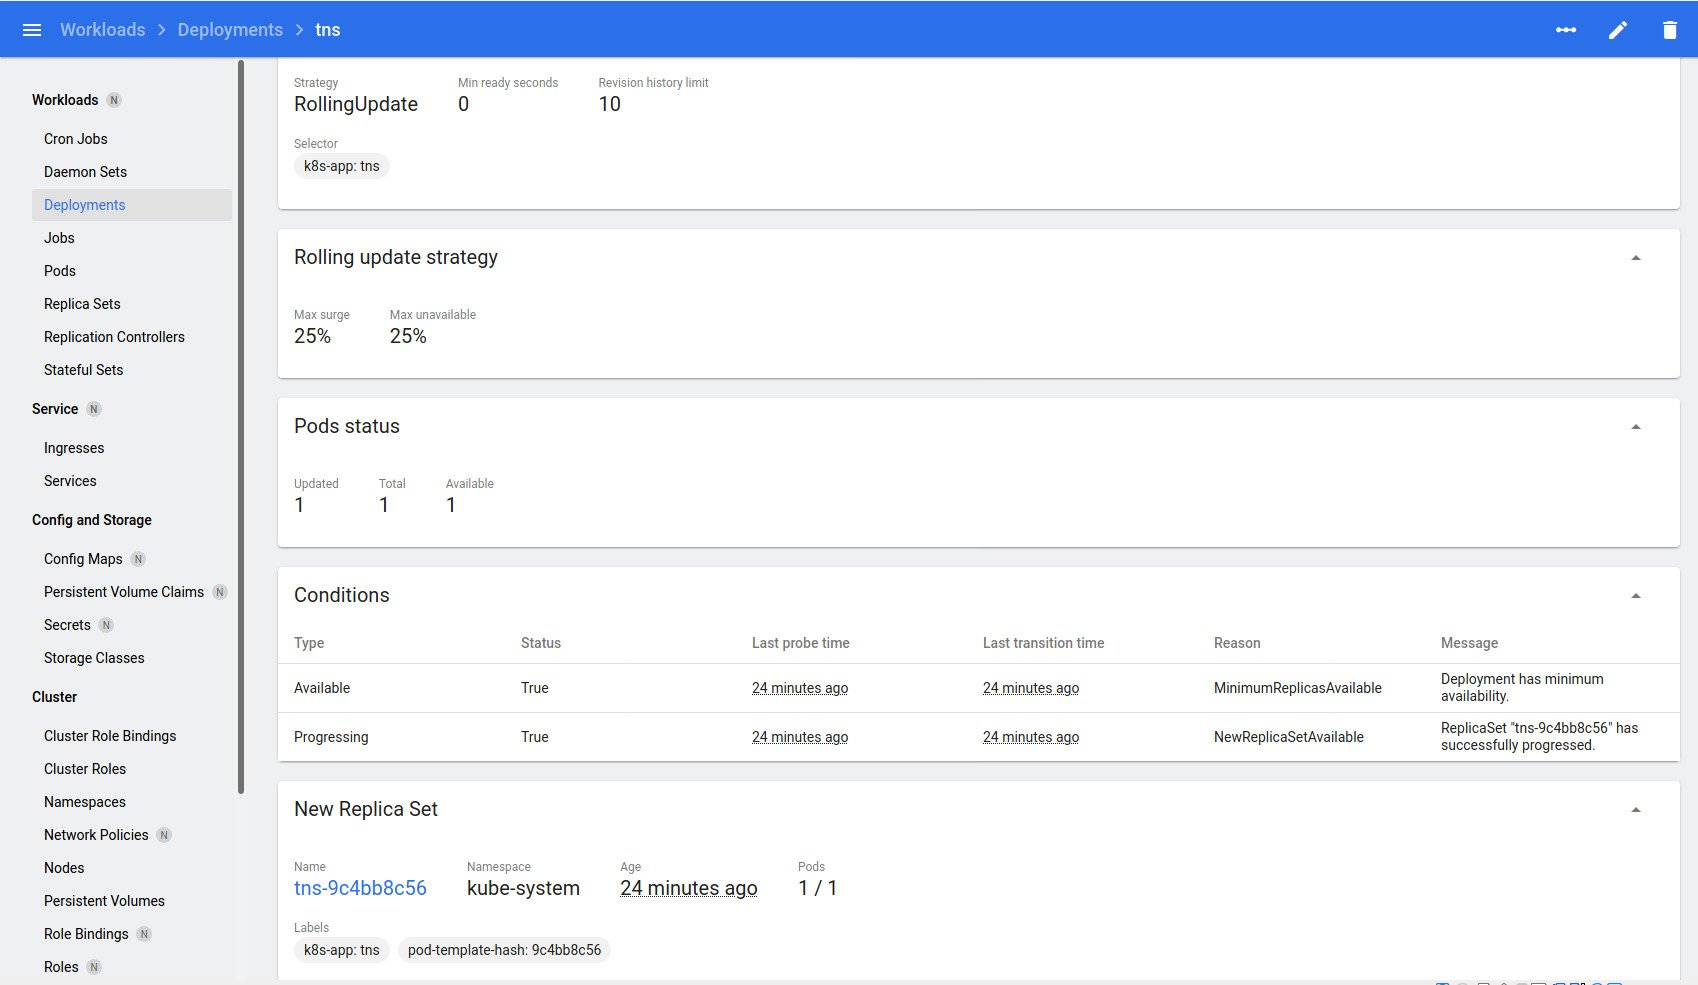
You should immediately be directed to a page that lists your new deployment as shown below:
Go back to the terminal window and issue the command:
microk8s kubectl get svc tns -n kube-system

NAME   TYPE           CLUSTER-IP      EXTERNAL-IP   PORT(S)          AGE
tns    LoadBalancer   10.152.183.90   <pending>     8080:30012/TCP   14m
Go to browser, visit http://<Floating-IP>:<NodePort> i.e. http://128.31.26.4:30012/ to check the nginx default page.
Deploy A Sample Nginx Application
-
Create an alias:
-
Create a deployment, in this case Nginx:
-
To access the deployment we will need to expose it:
Go to browser, visit http://<Floating-IP>:<NodePort> i.e. http://128.31.26.4:31225/ to check the nginx default page.
Deploy Another Application
You can start by creating a microbot deployment with two pods via the kubectl cli:
mkctl create deployment microbot --image=dontrebootme/microbot:v1
mkctl scale deployment microbot --replicas=2
To expose the deployment to NodePort, you need to create a service:
View the port information:
mkctl get svc microbot-service

NAME               TYPE       CLUSTER-IP     EXTERNAL-IP   PORT(S)        AGE
microbot-service   NodePort   10.152.183.8   <none>        80:31442/TCP   35h
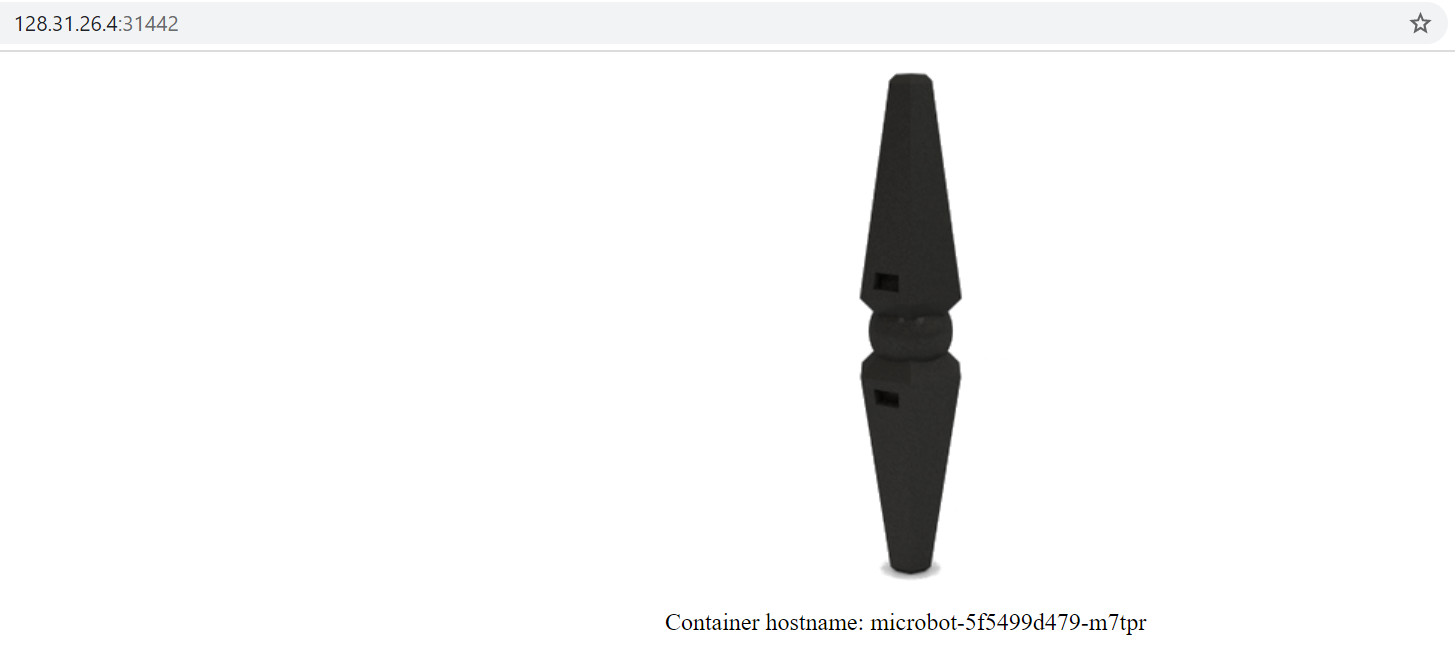
Go to browser, visit http://<Floating-IP>:<NodePort> i.e. http://128.31.26.4:31442/ to check the microbot default page.